
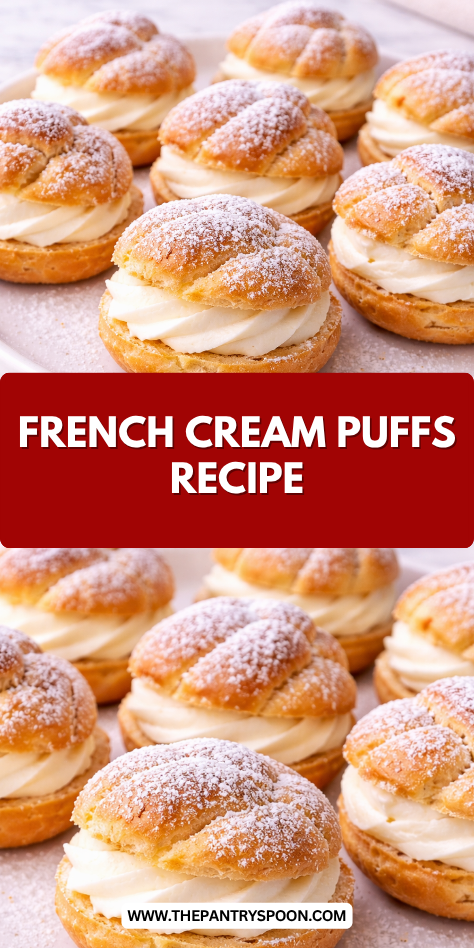
I’ve always believed that French cream puffs (choux à la crème) deserve a spot in every home baker’s repertoire. These light, airy pastries with their crisp shells and creamy centers might look intimidating, but trust me, they’re more forgiving than you’d think.
The magic happens when that simple mixture of butter, water, flour, and eggs transforms in the oven. And when you bite into one, that perfect contrast between crunch and silky cream? That’s what makes these little beauties truly irresistible. Ready to discover how simple they can be?
Why You’ll Love these French Cream Puffs
Magic. That’s what happens when simple ingredients transform into these light-as-air pastries. I’m telling you, cream puffs aren’t just dessert—they’re little clouds of joy that practically melt in your mouth.
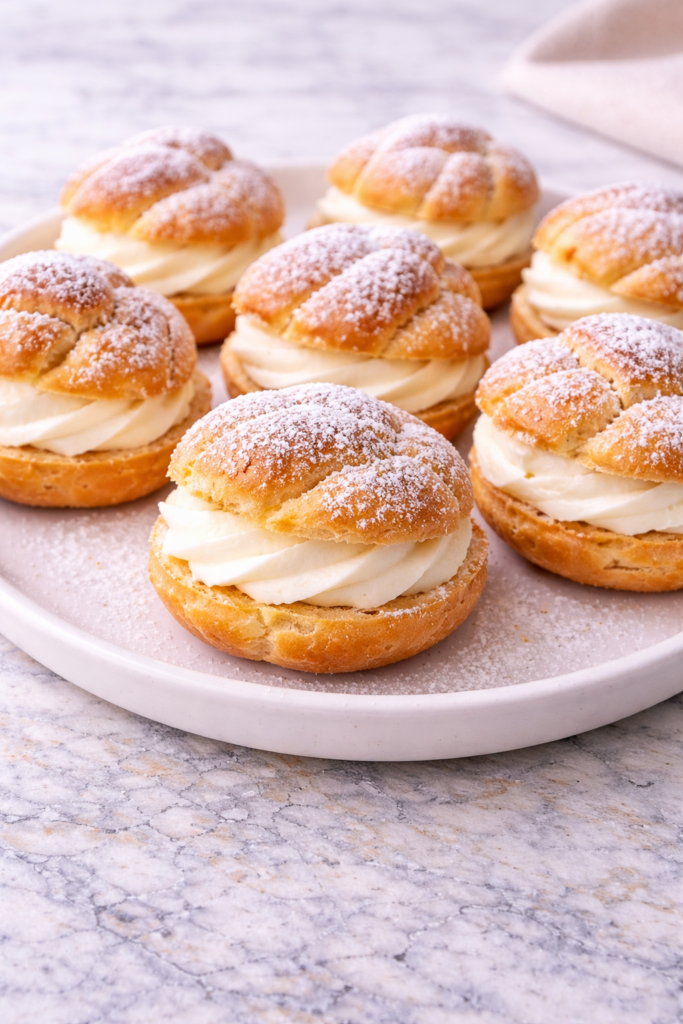
The crisp shell gives way to that heavenly whipped cream filling, creating the perfect balance of textures.
Don’t you deserve something special that looks impressive but isn’t actually complicated? Trust me, your friends will think you spent hours in the kitchen.
Plus, they’re versatile—dress them up with chocolate drizzle or keep them classic with a dusting of powdered sugar.
What Ingredients are in French Cream Puffs?
To make these delectable French cream puffs, you’ll need just a handful of simple ingredients that come together in the most magical way.
- 1 cup water
- ½ cup butter
- 2 tablespoons sugar
- ½ teaspoon salt
- 1⅓ cups all-purpose flour
- 4 large eggs (room temperature works best)
- 1 cup heavy cream
- 2 tablespoons powdered sugar, plus extra for dusting
- 1 teaspoon vanilla extract
The quality of your ingredients really makes a difference here—I always recommend using real butter and the freshest eggs you can find, as these humble components are what create that perfect puff and delicate texture we’re looking for.
How to Make these French Cream Puffs
Step 1: Melt the Butter and Other Ingredients
Combine 1 cup water, ½ cup butter, 2 tablespoons sugar, and ½ teaspoon salt in a medium saucepan.
Heat this mixture until the butter melts completely and the mixture just begins to simmer.
Step 2: Add the Flour
Remove the pan from heat and add 1⅓ cups all-purpose flour all at once, stirring vigorously until the mixture forms a smooth ball.
This happens pretty quickly, and you’ll know it’s ready when the dough pulls away from the sides of the pan.
Step 3: Cook the Dough
Return the pan to medium-low heat and continue cooking for 1-2 minutes, stirring constantly.
This extra cooking time helps dry out the dough, which is essential for those perfect hollow centers we’re after.
Step 4: Add the Eggs
Let the dough cool slightly (about 5 minutes), then beat in 4 large eggs one at a time.
The dough might look a bit strange and separated after each addition, but keep mixing—it’ll come together into a glossy, thick batter that slowly falls from the spoon in a V-shape.
Using a quality professional baking kit can make this process more efficient and produce consistent results.
Step 5: Pipe and Bake
Transfer the dough to a piping bag and pipe mounds about 1.5 inches in diameter onto a parchment-lined baking sheet, leaving space between each one.
Bake at 425°F for 25-30 minutes until they’re beautifully golden and feel hollow when tapped.
Step 6: Release Steam and Cool
Pierce each puff with a small knife while they’re still warm to release steam, then let them cool completely on a wire rack.
This little trick helps prevent sogginess—nobody wants a soggy puff, right?
Step 7: Prepare the Filling
Whip 1 cup heavy cream with 2 tablespoons powdered sugar and 1 teaspoon vanilla extract until soft peaks form.
The cream should hold its shape but still have a slight wobble to it—perfect for pillowy fillings.
Step 8: Assemble and Serve
Slice the cooled puffs horizontally, fill the bottom half with a generous dollop of the whipped cream, place the top back on, and dust with a little extra powdered sugar.
For best results, fill these beauties just before serving to maintain that delightful contrast between crisp shell and creamy center.
What to Serve with French Cream Puffs
These delicate cream puffs make a gorgeous dessert on their own, but why stop there?
Pair them with a rich espresso or cappuccino for that perfect café-style experience—the bitter coffee balances the sweet cream beautifully. For something special, serve alongside fresh berries or a drizzle of warm chocolate sauce (just a little goes a long way).
If you’re hosting brunch, these puffs work wonderfully with a mimosa or a glass of chilled Prosecco.
For a more substantial dessert spread, add some sliced stone fruits in summer or poached pears in winter.
The versatility of cream puffs makes them right at home at afternoon tea, fancy dinner parties, or just because it’s Tuesday and you deserve something lovely.
French Cream Puffs Substitutions and Variations
• Dairy Alternatives: Replace butter with vegan butter sticks and heavy cream with coconut cream (chilled overnight) for dairy-free puffs.
Just whip the coconut cream a bit longer for stability.
• Gluten-Free Option: Substitute all-purpose flour with a 1:1 gluten-free baking blend.
The texture might be slightly different, but still delicious!
- Filling Swaps: Try pastry cream, chocolate mousse, or lemon curd instead of whipped cream for more indulgent puffs.
- Flavor Boosters: Add a teaspoon of citrus zest to the dough, or fold fruit preserves into the whipped cream for seasonal flair.
- Sweet Touches: Dip the tops in melted chocolate, caramel, or sprinkle with toasted nuts.
For special occasions, stack them into a croquembouche with spun sugar.
• Savory Twist: Omit the sugar in the dough, add herbs, and fill with chicken salad or smoked salmon cream cheese for elegant appetizers.
Leftovers and Storage for these French Cream Puffs
Store unfilled cream puffs in an airtight container at room temperature for up to 2 days. For longer storage, freeze them for up to 3 months in a freezer bag with air removed.
The key trick? Store shells and cream separately. Those cream-filled puffs turn soggy within hours, which is why I always fill just before serving. The whipped cream can be refrigerated for up to 2 days.
To refresh day-old puffs, pop them in a 300°F oven for 5-8 minutes to restore crispness. For frozen puffs, thaw at room temperature, then reheat the same way.
These delicate treats are definitely best enjoyed fresh, but proper storage lets you prep ahead for entertaining without sacrificing quality.
Final Thoughts
These French cream puffs represent pastry perfection in its most approachable form.
What makes them truly special is the magical transformation of simple ingredients—butter, water, flour, and eggs—into those airy, golden shells that cradle billowy whipped cream.
They’re impressive enough for special occasions yet straightforward enough for weekend baking projects when you want to treat yourself to something extraordinary.
Perfect for holiday gatherings, afternoon tea with friends, or anytime you need to add a touch of Parisian elegance to your table.
There’s something deeply satisfying about watching someone take their first bite, seeing that moment of pure delight as the crisp exterior gives way to creamy sweetness—a little taste of culinary magic in every puff.


