
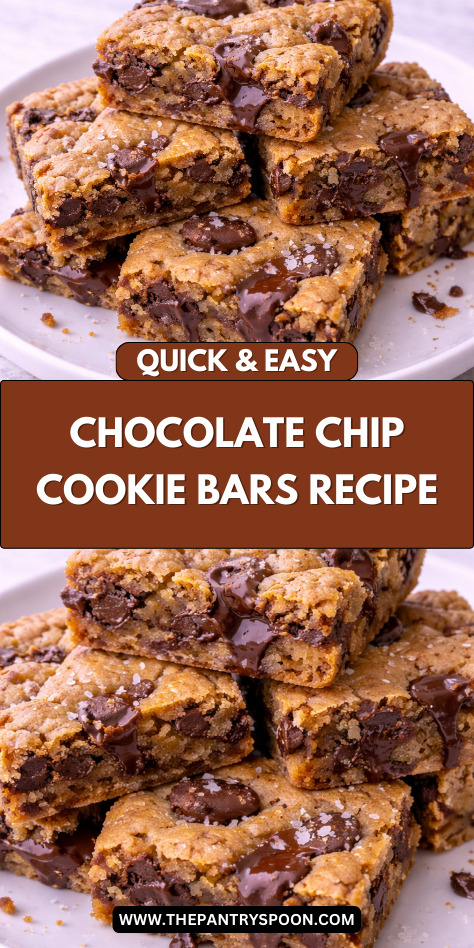
I’ve been on a quest for the perfect cookie bar recipe, and let me tell you, this chocolate chip version is a game-changer. Imagine all the gooey, chocolatey goodness of traditional cookies but with half the effort—no scooping or multiple batches required. Just mix, spread, and bake.
The contrast between the crispy edges and soft center creates this magical texture that’ll have you reaching for seconds. Want to know my secret for making these bars absolutely irresistible every single time?
Why You’ll Love these Chocolate Chip Cookie Bars
While traditional chocolate chip cookies require scooping individual portions, these cookie bars simplify the process without sacrificing any flavor. I’m all about shortcuts that don’t compromise on taste, and these bars deliver perfectly every time.
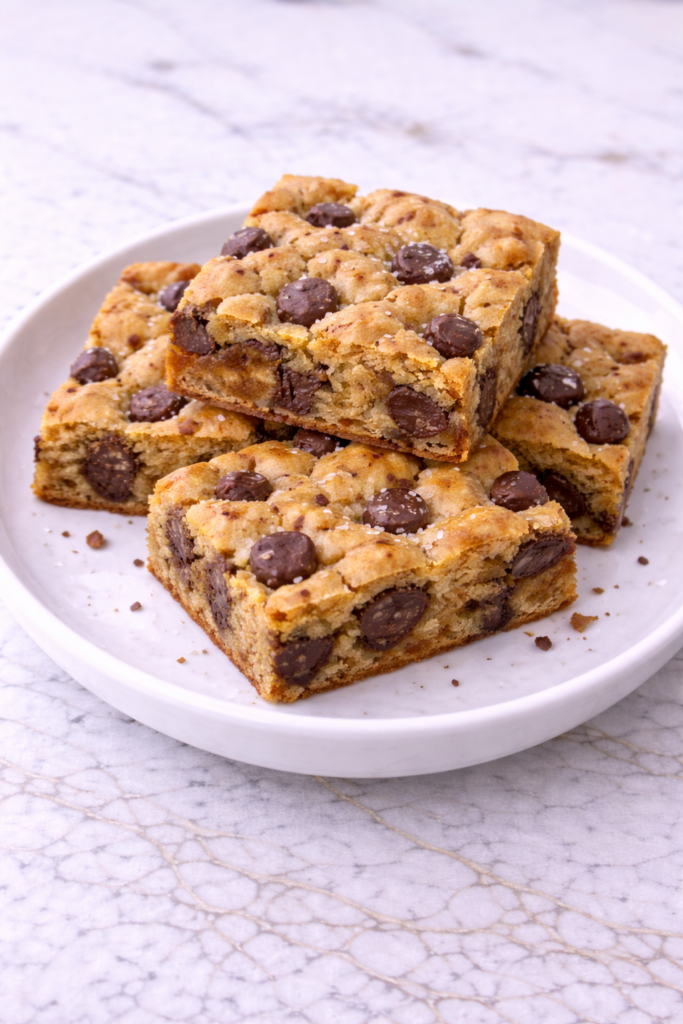
What’s not to love? They’re gooey in the center with crisp edges, packed with chocolate chips in every bite. Plus, they’re ready in under 30 minutes with minimal cleanup. No waiting for multiple batches to finish baking. Just pour, bake, cool, and slice. Perfect for potlucks, bake sales, or when that cookie craving hits unexpectedly.
What Ingredients are in Chocolate Chip Cookie Bars?
These chocolate chip cookie bars use classic baking staples you probably already have in your pantry, making them perfect for last-minute treats.
- 2¼ cups all-purpose flour
- 1 teaspoon baking soda
- ½ teaspoon salt
- 12 tablespoons (1½ sticks) butter, melted and cooled
- 1 cup light brown sugar
- ½ cup granulated sugar
- 1 large egg
- 1 large egg yolk
- 2 teaspoons vanilla extract
- 2 cups chocolate chips
For a little extra something special, consider adding that optional sprinkle of flaky sea salt on top before baking—it creates a magnificent sweet-salty contrast that elevates these bars from delicious to absolutely irresistible.
How to Make these Chocolate Chip Cookie Bars
Preheat your oven to 325°F and line a 9×13-inch baking pan with foil or parchment paper, making sure to leave some overhang for easy removal later.
This little prep step saves so much cleanup time—trust me, future you’ll be grateful.
Step 2: Mix the Dry Ingredients
In a medium bowl, whisk together 2¼ cups all-purpose flour, 1 teaspoon baking soda, and ½ teaspoon salt until well combined.
Getting these dry ingredients evenly mixed now prevents any surprise pockets of salt or baking soda later.
Step 3: Combine Wet Ingredients
In a large bowl, mix 12 tablespoons (that’s 1½ sticks) of melted and cooled butter with 1 cup light brown sugar and ½ cup granulated sugar until smooth.
The butter needs to be cooled slightly—otherwise, you might accidentally scramble those eggs in the next step!
Step 4: Add Eggs and Vanilla
Add 1 large egg, 1 large egg yolk, and 2 teaspoons of vanilla extract to your butter-sugar mixture, then stir until everything is thoroughly combined.
That extra egg yolk makes these bars deliciously chewy and rich.
Step 5: Incorporate Dry Ingredients and Chocolate
Gently fold the flour mixture into your wet ingredients, being careful not to overmix.
Once nearly combined, add 2 cups of chocolate chips and fold them in until they’re evenly distributed throughout the batter.
For easier mixing and a smoother consistency, you could use a food processor to combine the ingredients thoroughly without overworking the dough.
Step 6: Transfer to Baking Pan
Spread the cookie dough evenly in your prepared pan, using a spatula to smooth the top.
Want that professional bakery look? Take an extra minute to make sure the thickness is consistent throughout.
Step 7: Add Optional Sea Salt
If you’re feeling a bit fancy, now’s the time to sprinkle some flaky sea salt across the top of your batter.
This optional step creates an amazing sweet-salty contrast that really makes the chocolate flavor pop.
Step 8: Bake to Golden Perfection
Bake for 24-28 minutes until the top is golden brown and the edges start to pull away from the sides of the pan.
What to Serve with Chocolate Chip Cookie Bars
These gooey, chocolatey bars make a perfect dessert on their own, but why stop there?
For an elevated after-dinner treat, serve them slightly warm with a scoop of vanilla ice cream and watch as it melts into all those chocolate pockets.
Need a coffee break companion? These bars pair wonderfully with a cappuccino or cold brew.
For the ultimate indulgence, drizzle them with warm caramel sauce or serve alongside fresh berries for a touch of brightness that cuts through the richness.
And if you’re setting up a dessert table, these bars sit beautifully next to a small pitcher of cold milk—because honestly, is there any better combination than cookies and milk?
Chocolate Chip Cookie Bars Substitutions and Variations
- Dietary adaptations: For vegan bars, use flax eggs (1 tablespoon ground flax + 3 tablespoons water per egg) and plant-based butter.
- Flavor boosters: Add ½ teaspoon cinnamon or espresso powder to enhance the chocolate flavor without tasting like coffee.
- Decadent finish: Try a peanut butter swirl on top before baking, or drizzle with melted chocolate after cooling.
Leftovers and Storage for these Chocolate Chip Cookie Bars
These cookie bars are the gift that keeps on giving! Store them in an airtight container at room temperature for up to 5 days, with parchment paper between layers to prevent sticking.
For longer storage, these bars freeze beautifully:
- Wrap individual pieces in plastic wrap, then place in a freezer bag
- Freeze for up to 3 months
- Thaw at room temperature for about an hour before enjoying
To refresh slightly stale bars, pop them in the microwave for 10-15 seconds—this reactivates the gooey chocolate chips and makes them taste freshly baked.
While delicious right away, many bakers (myself included) think these bars actually taste better on day two, when the flavors have had time to meld together.
Final Thoughts
These chocolate chip cookie bars represent everything wonderful about home baking – the comforting aroma, the perfect balance of chewy and crisp, and that irresistible combination of butter and chocolate.
They’re my go-to recipe for busy weekdays when rolling individual cookies feels like too much effort, or when I need a reliable dessert for potlucks and school functions.
The beauty lies in their simplicity: one pan, minimal cleanup, maximum enjoyment.
There’s something undeniably satisfying about cutting into a warm slab of cookie goodness, revealing those pockets of melted chocolate that remind us why the classics never go out of style.


