
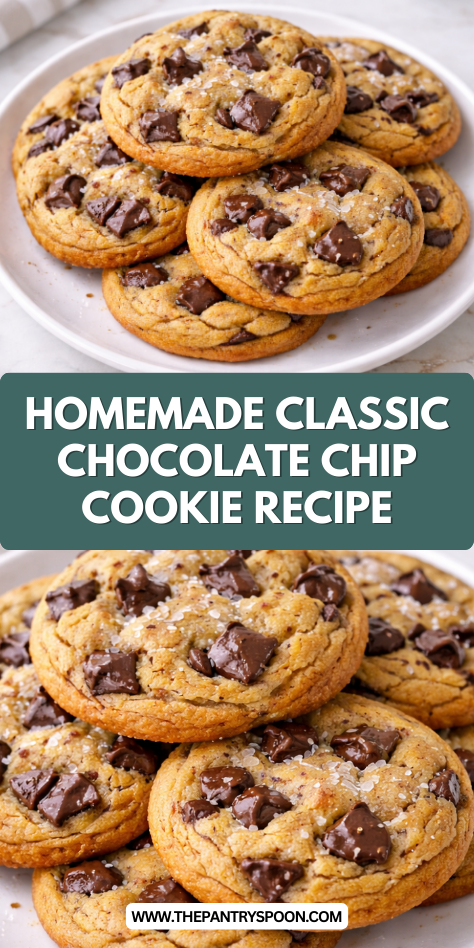
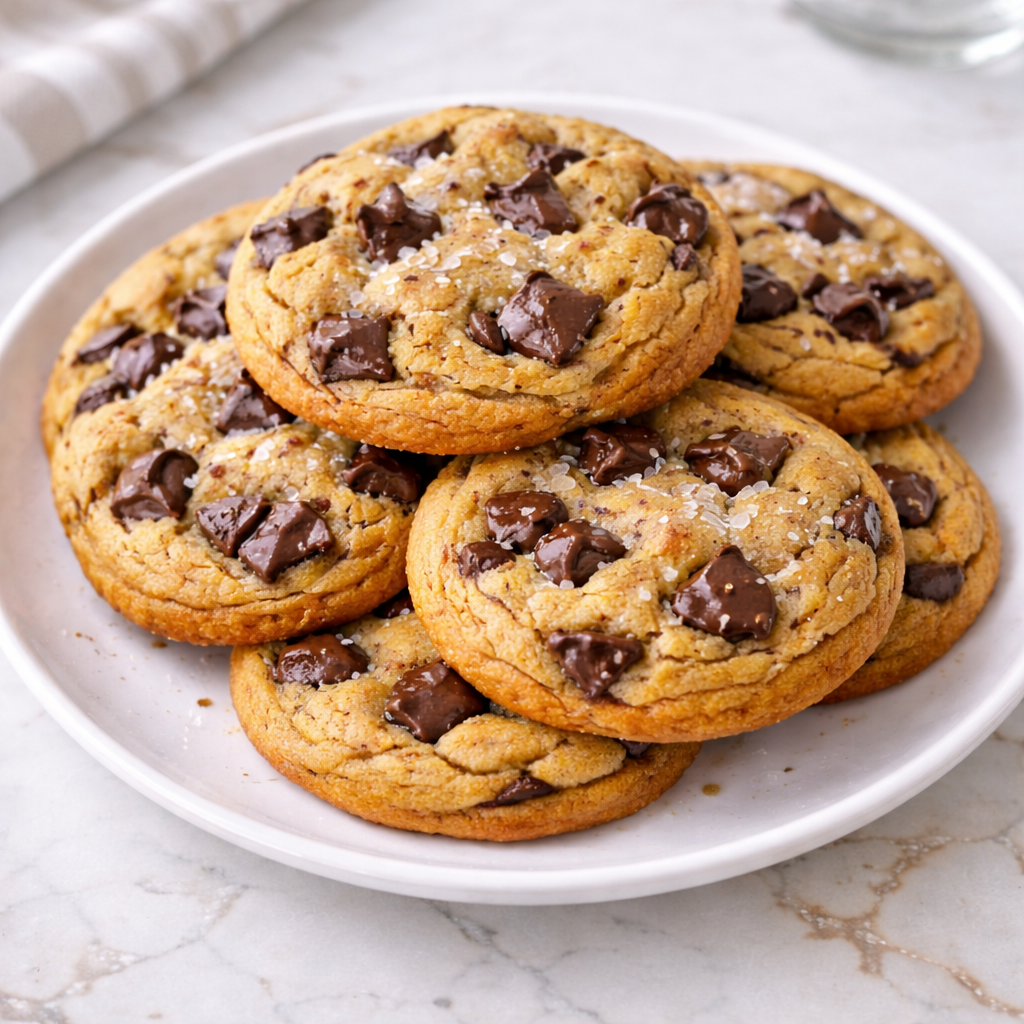
I’ve always believed that a perfect chocolate chip cookie is the ultimate comfort food—crispy on the edges, soft in the middle, with melty chocolate in every bite.
There’s something magical about the aroma filling your kitchen as they bake, transporting you straight back to childhood.
Whether you’re a baking novice or a seasoned pro, this classic recipe uses simple ingredients you probably already have in your pantry. Wondering what makes these cookies special? The secret is in the technique and timing…
Why You’ll Love these Classic Chocolate Chip Cookies
Nostalgia hits different when it comes to chocolate chip cookies. That first bite—crispy edges giving way to a soft, chewy center—takes me right back to childhood.
These aren’t just any cookies; they’re the perfect balance of buttery richness and sweet chocolate in every bite.
I’m obsessed with how the brown sugar creates that caramel-like depth while the extra egg yolk keeps everything moist and tender.
And those pockets of melty chocolate chips? Pure magic.
The best part? They’re simple enough for beginners but still satisfy serious cookie connoisseurs. Ready in under 30 minutes when a craving strikes.
What Ingredients are in Classic Chocolate Chip Cookies?
These classic chocolate chip cookies rely on simple pantry staples that combine to create that perfect balance of crispy edges and chewy centers.
- ¾ cup unsalted butter, softened
- ¾ cup light brown sugar, packed
- ½ cup granulated sugar
- 1 large egg, room temperature
- 1 large egg yolk, room temperature
- 1 ½ teaspoons vanilla extract
- 2 ½ cups all-purpose flour
- 1 teaspoon baking soda
- 1 teaspoon salt
- 1 cup semisweet chocolate chips
For the best results, make sure your butter is properly softened (not melted) and your eggs are at room temperature, which helps everything incorporate smoothly for that perfect cookie texture we’re all after.
How to Make these Classic Chocolate Chip Cookies
Step 1: Cream Together Butter and Sugars
Start by placing ¾ cup softened unsalted butter in a large mixing bowl with ¾ cup packed light brown sugar and ½ cup granulated sugar.
Beat them together until the mixture becomes light and fluffy, with a smooth consistency that looks almost whipped.
Step 2: Add the Eggs and Vanilla
Add 1 large room-temperature egg, 1 large egg yolk, and 1½ teaspoons of vanilla extract to your butter-sugar mixture.
Mix these wet ingredients thoroughly until they’re completely incorporated and the batter looks smooth and glossy.
Step 3: Prepare the Dry Ingredients
In a separate bowl, whisk together 2½ cups all-purpose flour, 1 teaspoon baking soda, and 1 teaspoon salt.
This step guarantees all the dry ingredients are evenly distributed before they meet the wet ingredients—nobody wants a surprise pocket of salt in their cookie!
Step 4: Combine Wet and Dry Mixtures
Gradually add your flour mixture to the butter mixture, stirring just until combined.
Over-mixing at this stage can develop too much gluten, which might give you tough cookies instead of tender ones, and we definitely don’t want that.
Step 5: Fold in the Chocolate Chips
Gently fold in 1 cup of semisweet chocolate chips using a spatula until they’re evenly distributed throughout the dough.
This folding technique preserves all the air you’ve worked to incorporate during the creaming process.
Step 6: Scoop the Dough onto Baking Sheets
Use a cookie scoop or spoon to portion the dough onto parchment-lined baking sheets, spacing the cookies about 2 inches apart.
Using premium baking tools can elevate your cookie-making experience and help achieve more consistent results.
These cookies will spread while baking, so they need room to grow without merging into one giant super-cookie (unless that’s what you’re going for).
Step 7: Bake to Golden Perfection
Bake in a preheated 375°F oven for 10-12 minutes, or until the edges are lightly golden brown but the centers still look slightly underdone.
The cookies will continue cooking from residual heat even after you take them out of the oven.
Step 8: Cool Before Enjoying
Let the cookies cool on the baking sheet for about 10 minutes, then transfer them to a wire rack to cool completely.
This resting period is essential—it allows the cookies to set up properly and develop that perfect chewy texture we all crave.
What to Serve with Classic Chocolate Chip Cookies
Is there anything more comforting than warm chocolate chip cookies? While these sweet treats stand perfectly on their own, a few thoughtful pairings can elevate your cookie experience to new heights.
A cold glass of milk is the classic companion—the creamy richness balances the sweetness and creates that nostalgic dunking opportunity we all love. For coffee lovers, a cappuccino or latte makes these cookies shine at breakfast or as an afternoon pick-me-up.
Want something more indulgent? Try serving them slightly warm with a small scoop of vanilla ice cream on top, letting it melt just enough to create a cookie-meets-sundae situation.
For the ultimate dessert platter, pair with fresh berries or a small dish of lightly salted nuts to balance all that wonderful sweetness.
Classic Chocolate Chip Cookies Substitutions and Variations
- Butter alternatives: Replace butter with coconut oil (same amount) for dairy-free cookies, or try half butter, half shortening for a different texture.
- Flour swaps: For gluten-free cookies, use a 1:1 gluten-free flour blend. Whole wheat flour works too (use 2 cups instead of 2½) for a nuttier flavor.
- Sugar adjustments: Reduce sugar by up to ¼ cup total, or try coconut sugar instead of brown sugar for a deeper caramel note.
- Mix-ins magic: Replace half the chocolate chips with chopped nuts, dried cranberries, or white chocolate chips.
For fall, add ½ teaspoon cinnamon and a pinch of nutmeg.
- Vegan version: Substitute flax eggs (1 tablespoon ground flaxseed + 3 tablespoons water per egg) and use plant-based butter.
- Finishing touches: Sprinkle flaky sea salt on top before baking, or press in extra chocolate chips while cookies are still warm for that bakery-style look.
Leftovers and Storage for these Classic Chocolate Chip Cookies
These cookies stay fresh in an airtight container at room temperature for up to 5 days, though they’re at their absolute best within the first 2-3 days.
For longer storage, freeze baked cookies in a single layer until solid, then transfer to a freezer bag for up to 3 months.
Want to enjoy warm cookies anytime? Freeze portioned dough balls on a baking sheet, then transfer to a freezer bag.
Bake straight from frozen, just adding 1-2 minutes to the baking time.
To refresh slightly stale cookies, pop them in the microwave for 10 seconds—they’ll taste nearly fresh-baked again!
Pro tip: store with a slice of bread to keep cookies soft and prevent them from drying out.
Final Thoughts
There’s something undeniably magical about homemade chocolate chip cookies—the way the butter and sugar create those perfectly crisp edges and soft centers, the melty pockets of chocolate that surprise you with each bite.
This classic recipe strikes that ideal balance between simplicity and satisfaction, requiring just basic pantry ingredients while delivering exceptional results.
They’re perfect for rainy weekend afternoons, impromptu visits from friends, or tucking into lunchboxes as a midweek treat.
Whether you’re an experienced baker or just starting out, these timeless cookies connect us to memories of warm kitchens and the simple joy of something made with care.


