
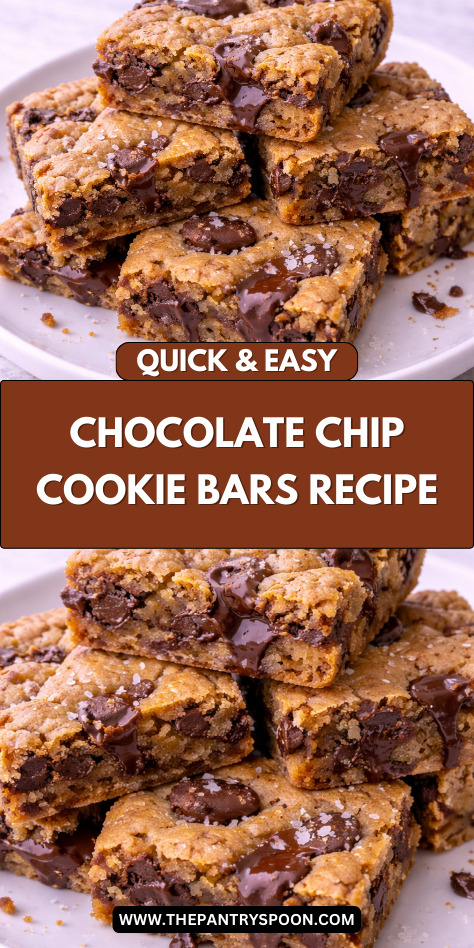
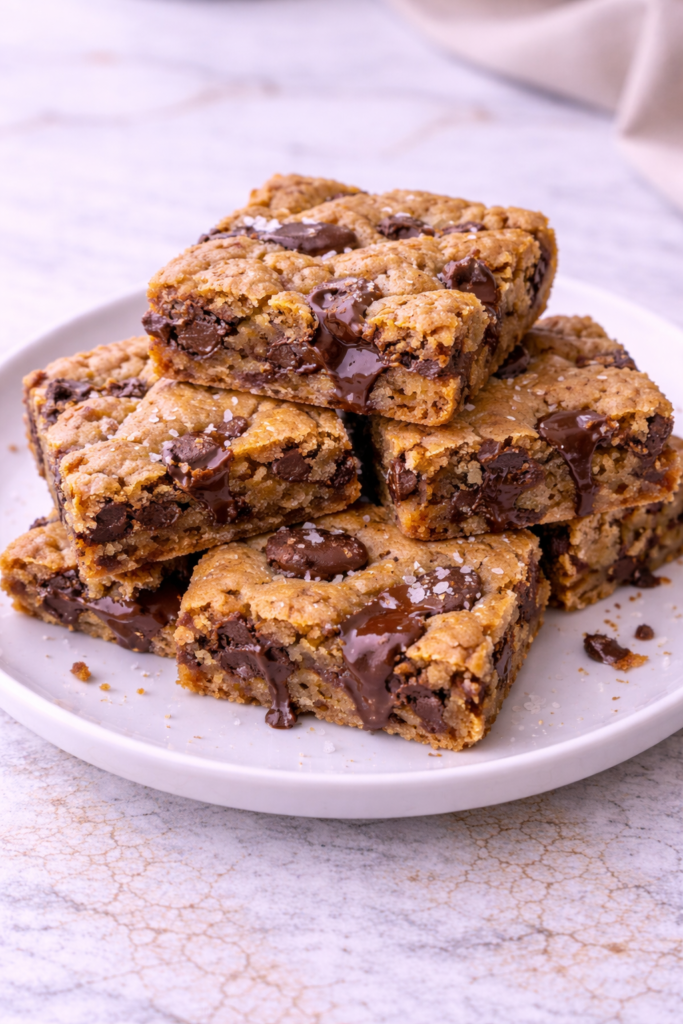
I’m not sure there’s anything more satisfying than biting into a warm, gooey chocolate chip cookie bar.
That perfect balance of buttery dough and melted chocolate chips just hits differently than a regular cookie, don’t you think? These bars combine everything we love about traditional chocolate chip cookies but with half the effort—no scooping or multiple batches required.
Just mix, press into a pan, and bake until golden. The hardest part? Waiting for them to cool enough to cut (though I won’t judge if you dig in sooner).
Why You’ll Love these Gooey Chocolate Chip Cookie Bars
When you’re craving cookies but don’t have time for multiple batches, these gooey chocolate chip cookie bars are your perfect solution. I love how they deliver all the warm, buttery goodness of traditional cookies with half the effort.
The melted butter creates an incredibly soft texture, while the extra egg yolk adds richness you can’t resist. And can we talk about those pockets of melted chocolate throughout? Divine.
No scooping or rotating pans—just press into one pan and bake. Trust me, the hardest part is waiting for them to cool before cutting. Worth it, though.
What Ingredients are in Gooey Chocolate Chip Cookie Bars?
These cookie bars rely on simple pantry staples that combine to create something truly magical.
- 2¼ cups all-purpose flour
- 1 teaspoon baking soda
- ½ teaspoon salt
- ¾ cup butter, melted
- 1 cup brown sugar
- ⅓ cup granulated sugar
- 1 whole egg plus 1 egg yolk
- 2 teaspoons vanilla extract
- 1 cup chocolate chips
For the best results, make sure your ingredients are at room temperature (except the melted butter), and consider using high-quality vanilla extract and chocolate chips—little details that make a noticeable difference in the final flavor.
How to Make these Gooey Chocolate Chip Cookie Bars
Step 1: Prepare Your Oven and Pan
Preheat your oven to 350°F and line a 9×13 baking pan with parchment paper, leaving some overhang on the sides for easy removal later.
The parchment paper is your best friend here—trust me, you’ll thank yourself when it’s time to lift those perfect bars out.
Step 2: Mix Your Dry Ingredients
In a medium bowl, whisk together 2¼ cups all-purpose flour, 1 teaspoon baking soda, and ½ teaspoon salt until well combined.
This quick step guarantees all those leavening agents get evenly distributed throughout your cookie bars.
Step 3: Combine Butter and Sugars
In a large bowl, mix ¾ cup melted butter with 1 cup brown sugar and ⅓ cup granulated sugar until smooth and glossy.
The melted butter creates that irresistible chewy texture we’re all looking for in a perfect cookie bar.
Step 4: Add Eggs and Vanilla
Add 1 whole egg, 1 egg yolk, and 2 teaspoons of vanilla extract to your butter mixture, stirring until completely incorporated.
That extra yolk? It’s the secret to keeping these bars soft and moist for days (though who am I kidding, they rarely last that long).
Step 5: Incorporate the Flour Mixture
Gently fold the flour mixture into your wet ingredients until just combined, being careful not to overmix.
A few streaks of flour are actually better than overworking the dough, which can make your bars tough instead of tender.
Step 6: Add Those Chocolate Chips
Fold in 1 cup of chocolate chips until evenly distributed throughout the dough.
Want a pro tip? Reserve a small handful to press into the top of the dough before baking—this makes the bars look absolutely irresistible.
Step 7: Press Into Pan and Bake
Press the cookie dough evenly into your prepared pan, using the back of a spatula or your fingers to create a level surface.
Bake for 30-34 minutes, or until the edges are lightly browned and the center looks set but still slightly soft.
For even better results, consider using a premium Dutch oven to maintain consistent heat distribution throughout the baking process.
Step 8: Cool Before Cutting
Allow the cookie bars to cool completely in the pan before lifting out the parchment and cutting into squares.
Patience is hard, I know, but cutting while warm will give you a gooey mess rather than perfect squares.
What to Serve with Gooey Chocolate Chip Cookie Bars
These irresistible cookie bars deserve perfect companions. A scoop of vanilla ice cream melting over a warm bar creates that classic à la mode experience that never disappoints.
For a quick upgrade, drizzle with warm salted caramel sauce or chocolate ganache—store-bought works perfectly fine, no judgment here.
Cold milk is the traditional pairing, but don’t underestimate how well these bars go with a strong coffee or espresso to balance the sweetness.
For a revitalizing contrast, serve with fresh berries on the side—strawberries and raspberries cut through the richness beautifully.
These treats work wonderfully as an afternoon pick-me-up, after-dinner dessert, or (let’s be honest) the occasional indulgent breakfast with your morning coffee.
Gooey Chocolate Chip Cookie Bars Substitutions and Variations
These cookie bars are incredibly forgiving—perfect for when you’re short on ingredients or want to shake things up:
- Butter alternatives: Use coconut oil for dairy-free, or replace with equal parts applesauce for lower fat.
- Flour swaps: Try a 1:1 gluten-free flour blend, or substitute up to half with whole wheat for extra nutrition.
- Sugar adjustments: Reduce sugar by ¼ cup, or swap brown sugar with coconut sugar for a caramel-like flavor.
- Mix-in magic: Replace chocolate chips with butterscotch chips, chopped nuts, dried cranberries, or a mix of all three.
- Seasonal twists: Add orange zest during holidays, pumpkin spice in fall, or crushed candy canes on top for Christmas.
- Finishing touches: Sprinkle with flaky sea salt before baking, or drizzle with peanut butter after cooling for extra decadence.
Can’t have eggs? A flax egg (1 Tbsp ground flaxseed + 3 Tbsp water) works surprisingly well here.
Leftovers and Storage for these Gooey Chocolate Chip Cookie Bars
These cookie bars keep remarkably well, making them perfect for batch baking.
Store cooled bars in an airtight container at room temperature for up to 5 days—though I doubt they’ll last that long!
For longer storage, refrigerate for up to a week or freeze for up to 3 months.
When freezing, separate layers with parchment paper to prevent sticking. Thaw at room temperature before enjoying.
Want that fresh-baked experience? Pop a refrigerated bar in the microwave for 10-15 seconds, just enough to slightly warm and re-melt those chocolate chips.
Interestingly, many folks (myself included) think these bars taste even better the day after baking, when the flavors have had time to meld.
The texture stays wonderfully chewy as long as they’re properly stored.
Final Thoughts
These chocolate chip cookie bars transform a beloved classic into something even more approachable. The beauty lies in their simplicity—all the flavor of traditional cookies without the scooping and multiple batches.
They’re my go-to solution for busy weeknights, classroom treats, or unexpected guests, delivering that homemade touch without the fuss. The combination of brown sugar and extra egg yolk creates that perfect chewy texture that somehow bridges the gap between cookie and blondie.
Next time you’re craving something sweet but short on time, remember these bars waiting to become your new faithful standby in the dessert rotation.


