
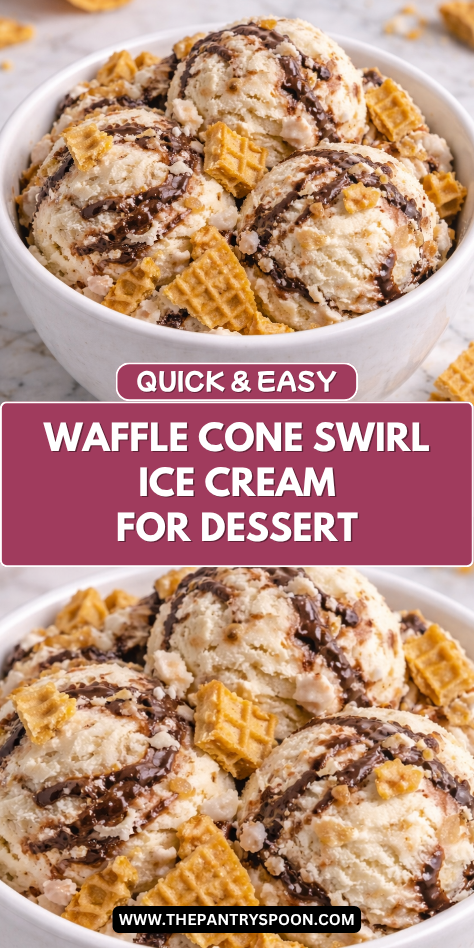
Want ice cream that tastes like biting into a fresh waffle cone, not just vanilla with chunks? I used to think that flavor only came from the actual cone until I learned how to toast the batter.
I’ll show you how to bake bits of waffle cone batter until they’re caramelized, then swirl them into homemade ice cream.
It gives you that buttery, crunchy sweetness in every spoonful without needing fancy equipment. You’ll end up with something that feels special but uses ingredients you probably already have.
Why You’ll Love This Recipe
This waffle cone swirl ice cream is all about texture and flavor contrast. The smooth, creamy base pairs perfectly with the crunchy waffle cone pieces and sweet swirl, creating a dessert that feels layered and satisfying. It’s a combination that keeps each bite interesting.
It’s also surprisingly simple to make, even if you’re new to homemade ice cream. With a few basic ingredients and steps, you can create a dessert that feels special and fun. It’s a great way to bring a classic treat into your own kitchen.
Another reason to love this recipe is its versatility. You can adjust the swirl, add chocolate, or change the base flavor. This waffle cone swirl ice cream fits easily into different preferences and occasions.
Serves: 4 people
This recipe makes about four servings, depending on portion size. It’s perfect for sharing or enjoying over a few days, and can easily be doubled if needed.
Ingredients You’ll Need
For the Ice Cream Base:
- 2 cups heavy cream
- 1 cup whole milk
- 3/4 cup sugar
- 4 large egg yolks
- 1 teaspoon vanilla extract
- Pinch of salt
For the Waffle Cone Swirl:
- 1 cup waffle cone pieces, broken into small chunks
- 1/4 cup caramel sauce or chocolate syrup
Pro Tips
Use fresh waffle cones for the best crunch and flavor. Stale cones can lose their texture. It makes a difference.
Break the waffle cones into small, even pieces. This helps distribute them throughout the ice cream. It improves texture.
Chill the ice cream base completely before churning. This helps it freeze properly. It creates a smoother result.
Fold in the waffle cone pieces and swirl gently after churning. This prevents them from becoming too soft. It keeps the texture balanced.
Do not overmix the swirl. Lightly folding creates a more distinct pattern. It improves presentation.
Freeze the ice cream long enough to firm up before serving. This helps it hold its shape. It improves the experience.
Tools You’ll Need
- Medium saucepan
- Mixing bowls
- Whisk
- Ice cream maker
- Spatula
- Measuring cups
- Measuring spoons
Substitutions and Variations
You can use a no-churn ice cream base if you prefer a simpler method. This skips the custard step. It still works well.
If you want a chocolate version, add cocoa powder to the base. This creates a richer flavor. It’s an easy variation.
For extra texture, you can add chocolate chips or nuts. This enhances the crunch. It adds variety.
You can also experiment with different swirls like fudge or fruit sauce. This changes the flavor profile. It keeps things interesting.
If you prefer a lighter version, use half-and-half instead of heavy cream. This reduces richness slightly. It still tastes great.
Make Ahead Tips
This waffle cone swirl ice cream is perfect for preparing ahead, especially since it needs time to chill and set. You can make the custard base a day in advance and store it in the refrigerator. This allows the flavors to develop and makes the process smoother.
You can also prepare the waffle cone pieces ahead of time and keep them in an airtight container. This helps maintain their crunch until you’re ready to use them. It keeps the texture just right.
Once churned, the ice cream can be frozen for several days before serving. This makes it a great dessert to have ready for gatherings or simple treats at home. It stays fresh and enjoyable.
Instructions
Step 1: Heat the Cream and Milk
In a medium saucepan, combine the heavy cream and milk. Heat over medium-low until warm but not boiling. This prepares the base.
Step 2: Prepare the Egg Mixture
In a mixing bowl, whisk together the egg yolks and sugar until pale and slightly thick. This creates a smooth custard base. It improves texture.
Step 3: Temper the Eggs
Slowly pour a small amount of the warm cream mixture into the egg mixture while whisking continuously. This prevents the eggs from scrambling. It ensures a smooth consistency.
Step 4: Combine and Cook
Pour the egg mixture back into the saucepan with the remaining cream. Cook over low heat, stirring constantly, until the mixture thickens enough to coat the back of a spoon.
Step 5: Add Vanilla and Salt
Remove the mixture from heat and stir in the vanilla extract and a pinch of salt. This enhances the flavor. It completes the base.
Step 6: Chill the Mixture
Let the mixture cool to room temperature, then transfer it to the refrigerator. Chill for at least 4 hours or until completely cold. This is essential for churning.
Step 7: Churn the Ice Cream
Pour the chilled mixture into an ice cream maker and churn according to the manufacturer’s instructions. This creates a smooth and creamy texture.
Step 8: Add Waffle Cone Pieces
Once the ice cream is churned, gently fold in the waffle cone pieces. This distributes the crunch evenly. It adds texture.
Step 9: Add the Swirl
Drizzle the caramel sauce or chocolate syrup into the ice cream and gently swirl it with a spatula. Do not overmix. This creates a layered effect.
Step 10: Freeze and Set
Transfer the ice cream to a container and freeze for at least 4 hours until firm. This helps it hold its shape. It completes the process.
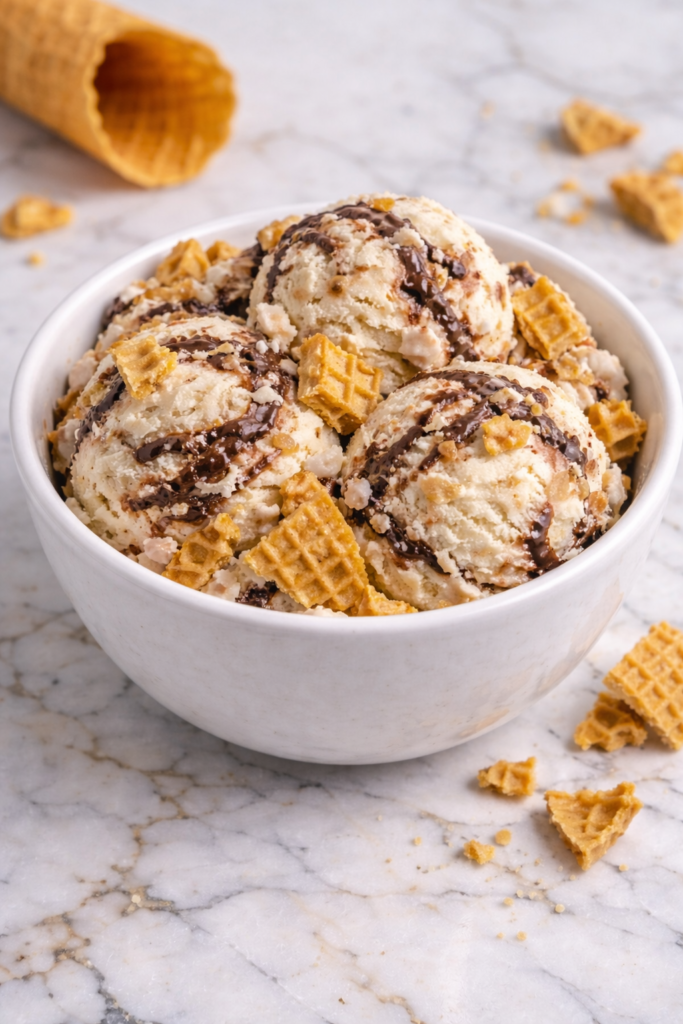
Serving Suggestions
This waffle cone swirl ice cream is perfect served on its own in a bowl or cone. The crunchy pieces add texture to every bite. It creates a complete dessert.
It also pairs well with simple desserts like brownies or cookies. The combination adds richness and contrast. It enhances the experience.
For a fun presentation, top with extra waffle cone pieces or a drizzle of sauce. This adds visual appeal. It makes it more enjoyable.
Leftovers and Storage
Store the ice cream in an airtight container in the freezer for up to 1 week. This helps maintain its texture and flavor. Keep it sealed tightly.
Before serving, let it sit at room temperature for a few minutes to soften slightly. This makes it easier to scoop. It improves the texture.
Avoid frequent thawing and refreezing, as it can affect the consistency. Proper storage helps maintain quality. It keeps the ice cream enjoyable.
Nutrition and Benefits
- This ice cream provides a rich and satisfying treat with a balance of creamy and crunchy textures. It offers a comforting dessert option.
- Waffle cone pieces add a unique texture and nostalgic flavor. They enhance the overall experience.
- Homemade ice cream allows control over ingredients and sweetness. It makes the recipe more customizable.
- Simple ingredients come together to create a dessert that feels both classic and creative. It adds variety.
- Enjoyed in moderation, this dessert can be part of a balanced lifestyle. It brings enjoyment and comfort.
Recipe FAQ
Can I make this without an ice cream maker?
Yes, you can freeze the mixture and stir it every 30 minutes until smooth. The texture may be slightly different. It still works.
How do I keep the waffle cones crunchy?
Add them after churning and avoid overmixing. This helps preserve their texture. It makes a difference.
Can I use store-bought ice cream as a base?
Yes, you can mix in waffle cone pieces and swirl into softened ice cream. This is a quicker option. It works well.
What swirl works best for this recipe?
Caramel and chocolate are both great options. Choose based on your preference. They complement the flavor.
How do I know when the custard is ready?
It should coat the back of a spoon and hold a line when you run your finger through it. This indicates proper thickness.
Can I add other mix-ins?
Yes, chocolate chips or nuts can be added. This creates more texture and flavor. It’s flexible.
How long does homemade ice cream last?
It’s best enjoyed within a week for optimal texture and flavor. Proper storage helps maintain quality.
A Fun and Nostalgic Treat to Enjoy Anytime
This waffle cone swirl ice cream is a simple way to bring a classic ice cream shop flavor into your home. It combines creamy texture with crunchy pieces and a sweet swirl to create a dessert that feels both playful and satisfying.
Whether you’re making it for a special occasion or just a simple treat, this recipe fits naturally into real life. With easy preparation and flexible options, it’s one you can enjoy again and again.


