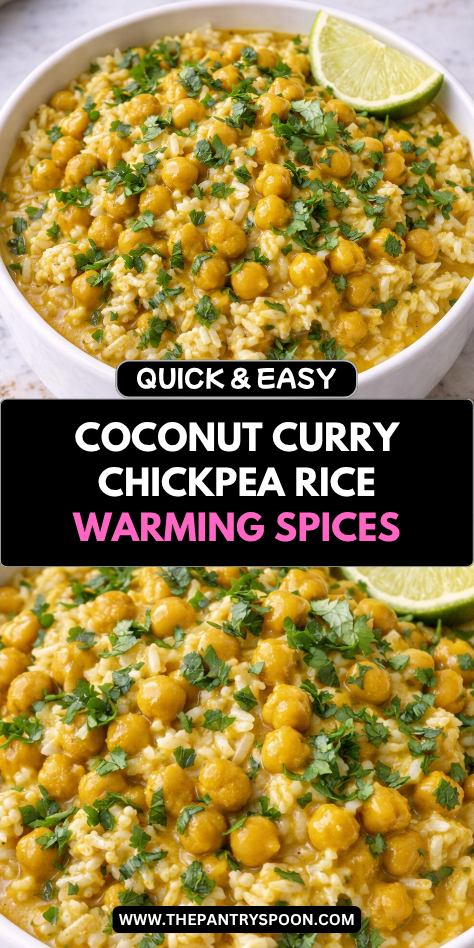
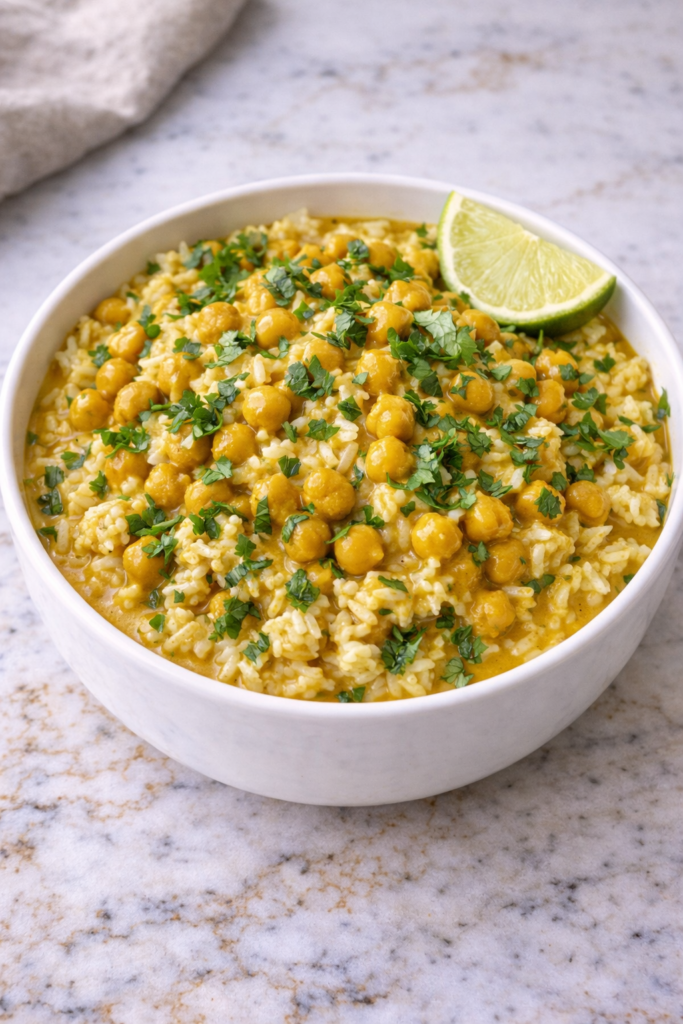
Tired of plain rice that just sits there taking up space on your plate? I used to feel the same way until I started stirring in coconut curry and chickpeas.
I’ll show you how to cook rice with creamy coconut milk and warm curry spices so every bite has flavor. The chickpeas add protein and make it hearty enough to eat on its own or as a side.
It’s one pot, minimal effort, and way more satisfying than boring white rice.
Why You’ll Love This Recipe
This coconut curry chickpea rice is all about bold flavor and comforting texture. The creamy coconut base blends beautifully with warm spices, while the chickpeas add a hearty element that makes the dish filling. It’s a balanced combination that feels both rich and wholesome.
It’s also easy to prepare, making it perfect for busy days when you still want a home-cooked meal. With simple ingredients and straightforward steps, you can create something that feels thoughtful and satisfying. It’s a reliable recipe you can return to again and again.
Another reason to love this recipe is its versatility. You can adjust the spice level, add vegetables, or serve it in different ways. This coconut curry chickpea rice adapts easily to your preferences and needs.
Serves: 4 people
This recipe makes four servings, perfect for family meals or leftovers. The portions are generous and can be adjusted depending on your needs.
Ingredients You’ll Need
For the Curry:
- 1 can (15 oz) chickpeas, drained and rinsed
- 1 cup coconut milk
- 1 small onion, chopped
- 2 cloves garlic, minced
- 1 teaspoon grated ginger
- 2 tablespoons oil
For the Spices:
- 1 teaspoon curry powder
- 1/2 teaspoon turmeric
- 1/2 teaspoon cumin
- 1/2 teaspoon salt
- 1/4 teaspoon black pepper
For the Rice:
- 1 cup rice
- 2 cups water
- 1/4 teaspoon salt
Pro Tips
Rinse the chickpeas well before using to remove excess sodium. This improves the flavor. It makes a difference.
Cook the onion until soft before adding spices. This builds a strong base. It enhances the dish.
Use full-fat coconut milk for a richer texture. This creates a creamier curry. It improves the result.
Adjust the spices to your preference. You can increase or reduce them as needed. This keeps the recipe flexible.
Cook the rice separately for better control over texture. This helps prevent overcooking. It keeps it fluffy.
Taste and adjust seasoning at the end. This ensures balanced flavor. It improves the final dish.
Tools You’ll Need
- Medium pot
- Large skillet or pan
- Knife
- Cutting board
- Measuring cups
- Measuring spoons
- Spoon
Substitutions and Variations
You can use brown rice instead of white rice for a different texture. This adds more fiber. It works well.
If you want more vegetables, add spinach, peas, or bell peppers. This enhances both flavor and nutrition.
For added heat, include chili flakes or fresh chili. This increases spice. Adjust to your preference.
You can also use light coconut milk for a lighter version. This reduces richness. It still tastes great.
If you prefer a different protein, tofu or lentils can be used. This changes the texture slightly. It keeps the dish versatile.
Make Ahead Tips
This coconut curry chickpea rice is a great option for preparing ahead, especially when you want a flavorful and filling meal ready during the week. You can cook both the rice and curry in advance and store them separately in the refrigerator for up to 4 days. This helps maintain the best texture.
You can also chop the onion, garlic, and ginger ahead of time and store them in airtight containers. This reduces prep time when you’re ready to cook. It keeps things simple and efficient.
If you plan to freeze the curry, do so without the rice for best results. Thaw it in the refrigerator and reheat gently before serving. This keeps the texture and flavor intact.
Instructions
Step 1: Cook the Rice
In a medium pot, combine the rice, water, and salt. Bring to a boil, then reduce heat to low, cover, and simmer until the rice is tender and the liquid is absorbed.
Step 2: Let the Rice Rest
Remove the pot from heat and let it sit covered for a few minutes. This helps the rice finish cooking. It improves the texture.
Step 3: Fluff the Rice
Use a fork to gently fluff the rice. This separates the grains and keeps them light. It prevents clumping.
Step 4: Heat the Oil
In a large skillet or pan, heat the oil over medium heat. Allow it to warm before adding ingredients. This helps build flavor.
Step 5: Cook the Onion
Add the chopped onion and cook until softened. Stir occasionally to prevent sticking. This creates a flavorful base.
Step 6: Add Garlic and Ginger
Stir in the minced garlic and grated ginger. Cook for about a minute until fragrant. This enhances the aroma and depth.
Step 7: Add Spices
Add the curry powder, turmeric, cumin, salt, and black pepper. Stir well to coat the onion mixture. This builds the flavor profile.
Step 8: Add Chickpeas
Add the rinsed chickpeas to the pan and stir to combine with the spices. Cook for a few minutes. This helps them absorb flavor.
Step 9: Add Coconut Milk
Pour in the coconut milk and stir well. Let the mixture simmer gently for 10 to 15 minutes. This allows the flavors to blend.
Step 10: Combine and Serve
Serve the coconut curry chickpeas over the cooked rice. Enjoy warm for the best flavor and texture. It’s ready to enjoy.
Serving Suggestions
This dish pairs well with a simple side of vegetables or a fresh salad. The freshness balances the richness of the curry. It creates a complete meal.
It also works nicely with flatbread or naan for a more filling option. This adds variety and texture. It enhances the experience.
For extra flavor, top with fresh herbs or a squeeze of lime. This adds brightness. It brings everything together.
Leftovers and Storage
Store leftover coconut curry chickpea rice in an airtight container in the refrigerator for up to 4 days. Keep the rice and curry separate if possible. This helps maintain the best texture.
Reheat on the stovetop or in the microwave until warmed through. Add a splash of water or coconut milk if needed. This helps restore moisture.
You can freeze the curry portion for up to 2 months. Thaw before reheating for best results. Prepare fresh rice when serving.
Nutrition and Benefits
- Chickpeas provide plant-based protein and fiber, making the dish filling and nutritious. They support balanced meals.
- Coconut milk adds richness and depth of flavor without requiring many ingredients. It enhances the dish.
- Using simple spices creates a flavorful meal without complexity. It keeps the recipe approachable.
- This recipe is plant-based and adaptable to different dietary needs. It’s versatile and practical.
- The combination of rice and curry creates a satisfying and well-rounded meal. It’s ideal for everyday cooking.
Recipe FAQ
Can I use canned coconut milk?
Yes, canned coconut milk works best for a rich texture. Shake well before using.
How do I make this dish spicier?
Add chili flakes or fresh chili to increase heat. Adjust based on your preference.
Can I use a different type of rice?
Yes, brown rice or jasmine rice can be used. Cooking times may vary slightly.
Can I add vegetables?
Yes, vegetables like spinach or bell peppers can be added. They enhance flavor and nutrition.
Can I make this ahead of time?
Yes, both the rice and curry can be prepared in advance. Store separately for best results.
Can I freeze leftovers?
Yes, freeze the curry portion for best texture. Thaw before reheating.
How do I adjust the consistency?
Add more coconut milk for a thinner curry or simmer longer for a thicker texture.
A Warm and Flavorful Dish You’ll Keep Coming Back To
This coconut curry chickpea rice is a simple way to bring bold, comforting flavor into your daily routine. It combines creamy texture with warm spices to create a dish that feels both satisfying and easy to enjoy.
Whether you’re cooking for a quick dinner or planning meals ahead, this recipe fits naturally into real life. With simple steps and flexible ingredients, it’s one you can come back to again and again.