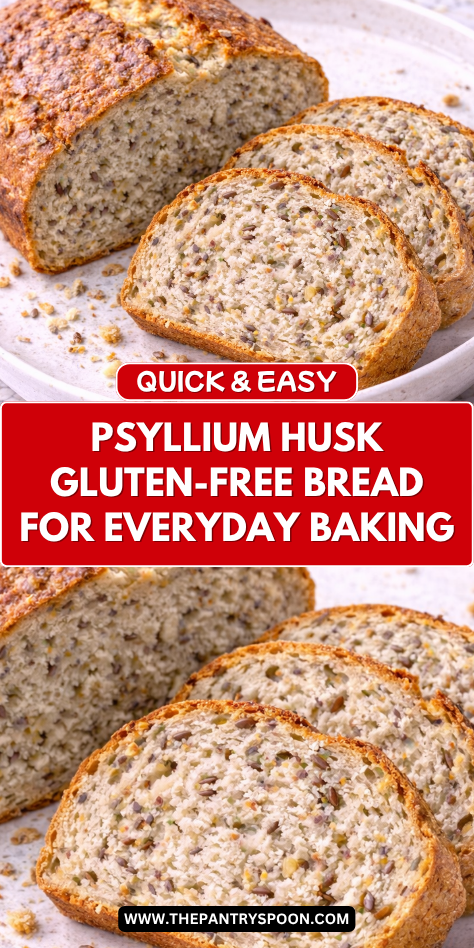
I started making this bread when I needed a reliable gluten-free loaf that actually had good texture and didn’t fall apart the moment you sliced it.
Psyllium husk is what makes it work — it binds everything together and gives the bread a chewy, satisfying crumb that is hard to find in most gluten-free recipes.
It took me a few tries to get the hydration and baking time right, but once I did this became my go-to loaf.
I’ll walk you through each step so yours comes out with a good crust, a tender interior, and enough structure to hold up to whatever you put on it. It’s a straightforward bake that makes gluten-free bread feel worth eating.
Why You’ll Love This Recipe
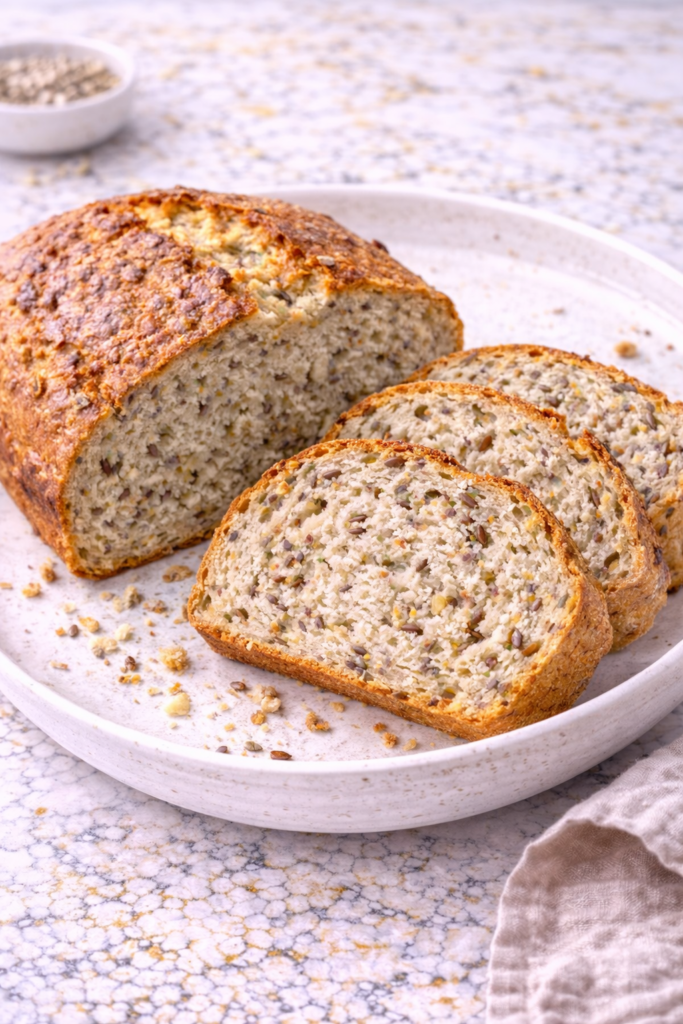
This Psyllium Husk Gluten-Free Bread has a soft yet sturdy texture that makes it incredibly versatile. It slices cleanly without falling apart, which is often the biggest challenge with gluten-free baking.
It’s also surprisingly simple to make, using straightforward ingredients that come together quickly. There’s no complicated shaping or special equipment required, making it approachable for home bakers at any level.
Another reason this recipe stands out is its nutritional value. Psyllium husk adds fiber and helps improve the structure of the bread, making it both functional and satisfying.
Serves: 10–12 slices
This recipe yields one standard loaf, which provides about 10 to 12 slices depending on thickness. It’s perfect for meal prep or daily use throughout the week.
Ingredients You’ll Need
- 2 cups gluten-free flour blend
- ¼ cup psyllium husk powder
- 1 teaspoon baking powder
- 1 teaspoon salt
- 1 tablespoon sugar or honey
- 1 ½ cups warm water
- 2 tablespoons olive oil
- 1 teaspoon apple cider vinegar
- 1 packet (2 ¼ teaspoons) active dry yeast
Pro Tips
Use psyllium husk powder rather than whole husks for the best texture. Powder blends more evenly and creates a smoother dough.
Make sure your water is warm, not hot, to properly activate the yeast without killing it. This helps the dough rise correctly.
Allow the psyllium mixture to sit for a few minutes before combining with other ingredients. It will thicken into a gel-like consistency that helps bind the dough.
Mix the dough thoroughly to ensure even hydration. Gluten-free doughs often require a bit more mixing than traditional doughs.
Let the dough rise in a warm, draft-free place for the best results. Consistent warmth helps the yeast activate properly.
Avoid overbaking, as gluten-free breads can dry out quickly. Remove the loaf once it is golden and firm.
Tools You’ll Need
- Mixing bowls
- Measuring cups and spoons
- Whisk or spoon
- Loaf pan
- Parchment paper
- Oven
- Kitchen thermometer (optional but helpful)
Substitutions and Variations
You can substitute the gluten-free flour blend with a mix of almond flour and oat flour, though the texture will vary slightly. A pre-mixed gluten-free blend usually gives the most consistent results.
For a dairy-free version, this recipe is already suitable as written, but you can enhance flavor by using plant-based oils like avocado oil instead of olive oil.
You can add seeds such as sunflower, flax, or sesame for extra texture and nutrition. These additions also enhance the flavor profile.
If you prefer a slightly sweeter bread, increase the sugar or honey slightly. This works well if you plan to use it for breakfast toast.
For a more savory version, you can add herbs like rosemary, thyme, or garlic powder. These additions turn the bread into a flavorful accompaniment for soups and meals.
Make Ahead Tips
This Psyllium Husk Gluten-Free Bread is a wonderful recipe to prepare ahead, especially if you like having fresh bread ready for the week. You can bake the loaf in advance and store it once fully cooled, which actually helps the texture settle and slice more cleanly the next day.
If you want to plan further ahead, you can also mix the dry ingredients in a container and keep them sealed for up to a week. This makes the final preparation quicker when you’re ready to bake.
For longer storage, the baked bread freezes very well. Slice it first before freezing so you can pull out individual portions as needed without thawing the whole loaf.
Instructions
Step 1: Activate the Yeast
In a small bowl, combine the warm water and sugar or honey, then sprinkle the active dry yeast over the top. Let it sit for 5–10 minutes until it becomes foamy.
This step confirms that the yeast is active and ready to help the bread rise. If it does not foam, the yeast may be expired or the water temperature may be incorrect.
Step 2: Prepare the Psyllium Gel
In a separate bowl, mix the psyllium husk powder with a portion of the warm water if needed. Stir quickly until it forms a thick, gel-like texture.
Allow it to sit for a few minutes to fully thicken. This gel is essential for giving the gluten-free bread its structure and elasticity.
Step 3: Combine Dry Ingredients
In a large mixing bowl, whisk together the gluten-free flour blend, baking powder, and salt. Make sure everything is evenly distributed.
This ensures consistent texture throughout the loaf. If using optional seeds or herbs, add them at this stage.
Step 4: Mix Wet Ingredients
Add the activated yeast mixture, psyllium gel, olive oil, and apple cider vinegar to the dry ingredients. Stir until a thick dough begins to form.
The dough will be sticky and slightly elastic, which is normal for gluten-free bread. Continue mixing until no dry spots remain.
Step 5: Shape the Dough
Transfer the dough into a greased or parchment-lined loaf pan. Use a spatula or wet hands to smooth the top.
The dough will not resemble traditional bread dough, so avoid over-handling. Just shape it evenly in the pan.
Step 6: Let the Dough Rise
Cover the loaf pan with a clean towel and place it in a warm area. Let it rise for 45–60 minutes, or until it has increased in size.
The dough may not double like wheat bread, but it should look slightly puffed and airy. This is enough for gluten-free dough.
Step 7: Bake the Bread
Preheat your oven to 375°F and bake the loaf for 45–50 minutes. The top should be golden brown and firm to the touch.
If the top browns too quickly, you can loosely cover it with foil during the last part of baking. This prevents over-browning.
Step 8: Cool Completely
Remove the bread from the oven and let it cool in the pan for 10 minutes before transferring it to a cooling rack.
Allow it to cool completely before slicing. This step is crucial, as it helps the structure fully set and prevents crumbling.
Serving Suggestions
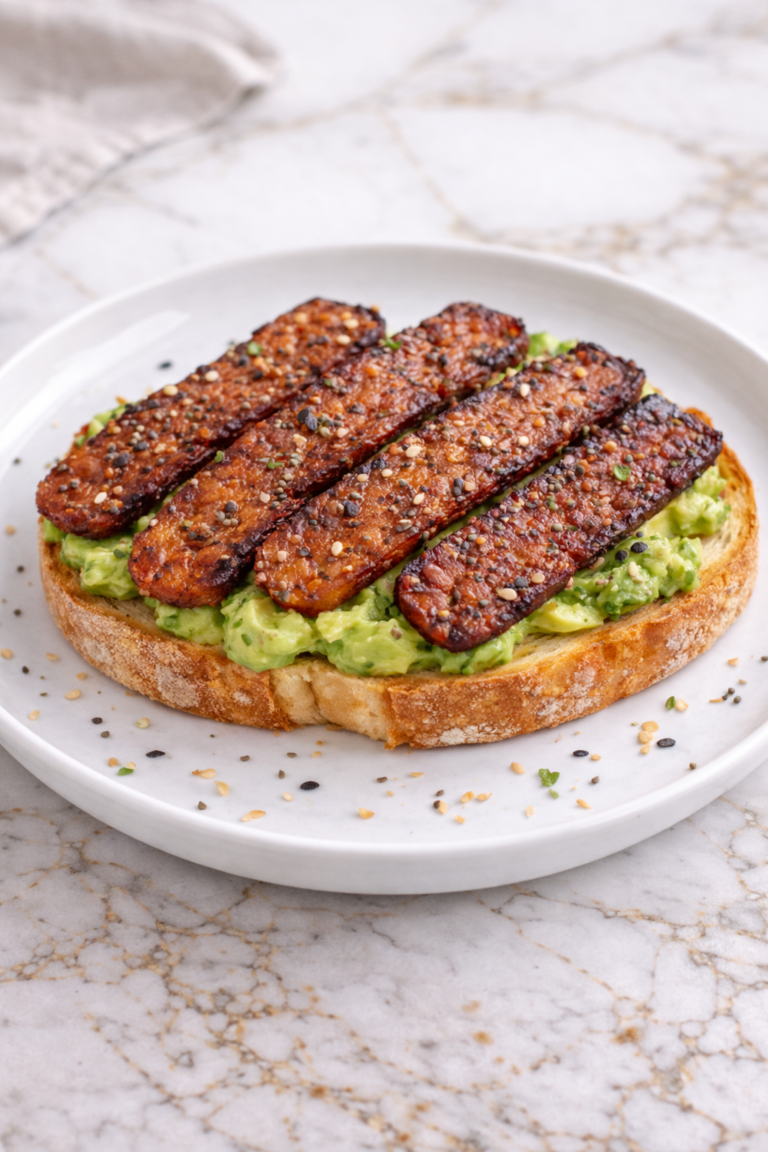
This bread is incredibly versatile and works well in many different ways throughout the day. It makes excellent toast in the morning, especially with butter, nut butter, or avocado.
You can also use it for sandwiches, where its sturdy texture holds up well to fillings without falling apart. It’s a reliable option for packed lunches or quick meals.
It pairs beautifully with soups and stews, where it can be used for dipping or served on the side. The hearty texture makes it especially satisfying with warm, comforting dishes.
For a lighter snack, try it toasted with olive oil, herbs, or a sprinkle of salt. This simple preparation highlights the flavor of the bread itself.
It also works well as a base for open-faced sandwiches with toppings like hummus, roasted vegetables, or sliced tomatoes. This makes it a flexible option for creative meals.
Leftovers and Storage
Store leftover Psyllium Husk Gluten-Free Bread in an airtight container or wrapped tightly in plastic wrap at room temperature for up to two days. For longer storage, keep it in the refrigerator for up to five days.
To maintain the best texture, toast slices before serving, especially after refrigeration. This helps restore softness and improves flavor.
For freezing, slice the bread and place parchment paper between slices before storing in a freezer-safe bag. It will keep well for up to two months.
When ready to eat, thaw slices at room temperature or toast directly from frozen. This makes it convenient for quick meals.
Avoid leaving the bread exposed to air for long periods, as it can dry out quickly. Proper storage helps preserve its moisture and texture.
Nutrition and Benefits
- Psyllium husk is rich in soluble fiber, which supports digestion and helps create a satisfying, bread-like texture. It also contributes to the structure of gluten-free baking.
- This bread is naturally gluten-free when made with a certified gluten-free flour blend, making it suitable for those with dietary restrictions. It’s a dependable alternative to wheat bread.
- Olive oil provides healthy fats that contribute to both flavor and texture. It also helps keep the bread moist and tender.
- The use of simple, whole ingredients allows for better control over what goes into your food. This makes it a cleaner option compared to many store-bought breads.
- The fiber content from psyllium husk can help support a feeling of fullness, making this bread more satisfying than typical refined options.
Recipe FAQ
Why didn’t my bread rise much?
Gluten-free bread does not rise as much as traditional bread. However, if there is no rise at all, the yeast may be inactive or the environment too cold. Make sure the yeast is fresh and the dough is kept warm.
Can I use whole psyllium husk instead of powder?
Yes, but the texture may be slightly coarser. Powder is recommended for a smoother, more consistent dough. Both will still work structurally.
Why is my bread gummy inside?
This usually happens if the bread is underbaked or sliced too early. Make sure to bake fully and allow it to cool completely before cutting.
Can I make this recipe vegan?
Yes, this recipe is naturally vegan as written. Just ensure your sweetener choice is plant-based if using honey alternatives.
Can I skip the vinegar?
The vinegar helps activate the baking process and improve texture. While you can omit it, the bread may be slightly denser without it.
Can I add seeds or nuts?
Yes, seeds like flax, sunflower, or sesame work very well in this bread. They add texture and extra nutrition.
How do I keep the bread from drying out?
Store it properly in an airtight container and slice only what you need. Toasting also helps refresh the texture when serving.
Conclusion
This Psyllium Husk Gluten-Free Bread is a simple, reliable recipe that delivers a soft, sliceable loaf without the need for gluten. It’s easy to prepare, adaptable, and perfect for everyday use.
With its hearty texture and nourishing ingredients, it’s a bread you can enjoy in many different ways. It offers a dependable, homemade option that fits effortlessly into any gluten-free routine.