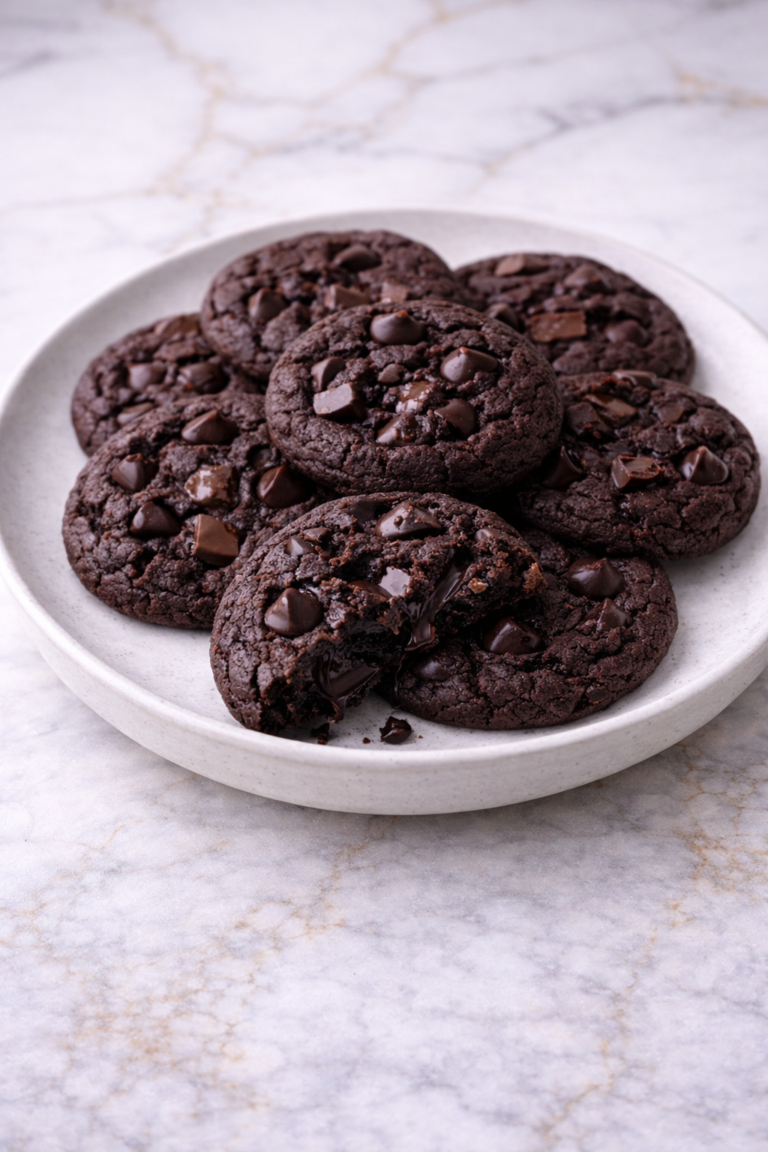
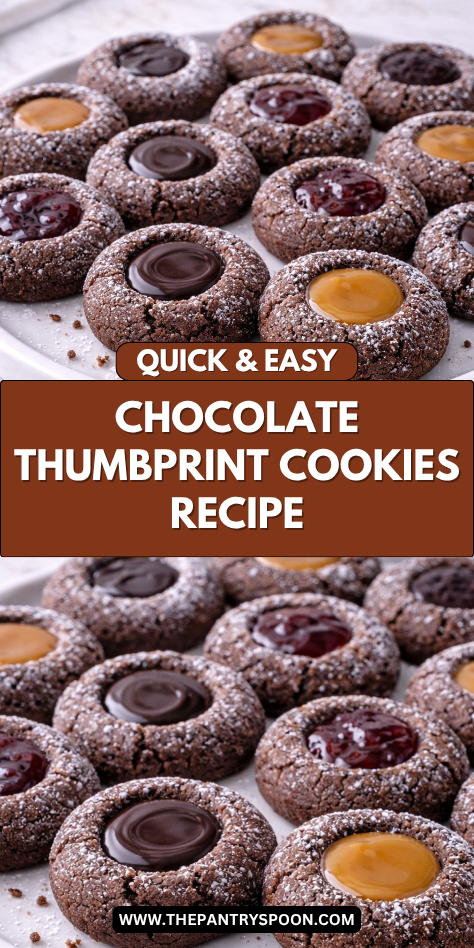
I’ve got a treat for you today that’s as delightful to make as it is to eat: Chocolate Thumbprint Cookies. These little gems combine rich chocolate dough with vibrant jam centers, creating a perfect balance of flavors.
They’re surprisingly simple to whip up with just a handful of ingredients you might already have in your pantry. The soft, chocolatey base paired with sweet jam makes them irresistible at first bite.
Want to know my secret for getting that perfect thumbprint without the cookie cracking?
Why You’ll Love these Chocolate Thumbprint Cookies
Because I’m completely obsessed with cookies that look fancy but don’t require a PhD in baking, these chocolate thumbprints might be my new favorite recipe.
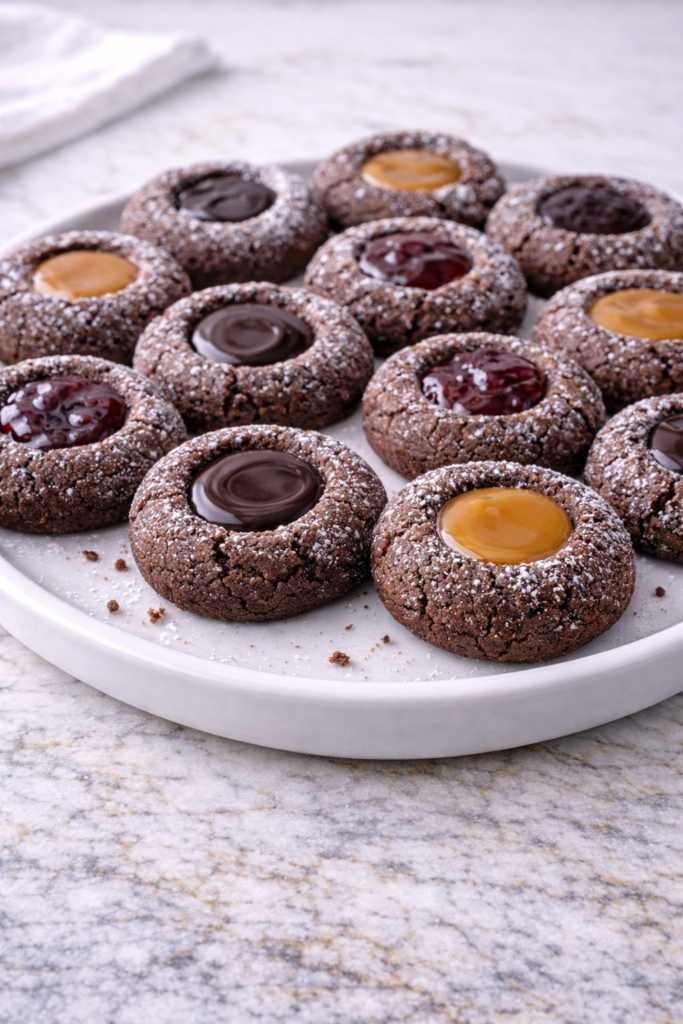
The rich chocolate dough, studded with colorful jam centers, creates that perfect sweet-tart balance that makes my taste buds dance.
What’s not to love? They’re soft yet sturdy, with a touch of elegance that impresses guests.
The optional chocolate drizzle takes them from delicious to downright decadent.
And can we talk about that sugary coating? It adds the perfect crunch against the tender cookie base.
Trust me, these will disappear from your cookie jar faster than you can say “thumbprint.”
What Ingredients are in Chocolate Thumbprint Cookies?
These chocolate thumbprint cookies come together with simple pantry staples that create rich, indulgent treats perfect for any occasion.
- ½ cup unsalted butter, softened
- ⅓ cup powdered sugar
- 1 cup all-purpose flour
- ⅓ cup Dutch processed cocoa powder
- ½ teaspoon kosher salt
- 1 teaspoon vanilla extract
- ¼ cup granulated sugar (for rolling)
- ⅓ cup jam (any flavor you prefer)
- ½ cup bittersweet chocolate, chopped (for optional topping)
- ½ cup heavy cream (for optional topping)
While the chocolate drizzle is technically optional, I’d argue it’s worth the extra few minutes. That glossy finish takes these cookies from delightful to downright irresistible, and who doesn’t love a little more chocolate?
How to Make these Chocolate Thumbprint Cookies
Step 1: Preheat Your Oven
Preheat your oven to 325°F and line a baking sheet with parchment paper.
Getting the temperature right is essential for these cookies—too hot and the bottoms will burn before the middles set.
Step 2: Mix the Cookie Dough
In a large bowl, cream together ½ cup softened unsalted butter and ⅓ cup powdered sugar until light and fluffy.
Add 1 cup all-purpose flour, ⅓ cup Dutch processed cocoa powder, ½ teaspoon kosher salt, and 1 teaspoon vanilla extract, then mix until the dough comes together smoothly.
Step 3: Form the Cookie Balls
Roll the dough into 1-inch balls between your palms—about a tablespoon of dough for each.
The warmth from your hands helps smooth out any cracks, creating that perfect spherical shape we’re after.
Step 4: Roll in Sugar
Place ¼ cup granulated sugar in a shallow bowl and roll each dough ball in the sugar until completely coated.
This little sugar jacket adds both sweetness and a subtle crunch that contrasts beautifully with the soft cookie interior.
Step 5: Create Thumbprints
Place the sugar-coated balls on your prepared baking sheet about 2 inches apart, then use your thumb (or the back of a measuring teaspoon if you’re fancy) to make an indentation in the center of each cookie.
The dough might crack slightly around the edges—totally normal.
Step 6: Fill with Jam
Fill each thumbprint with about ½ teaspoon of your favorite jam (totaling about ⅓ cup for the batch).
Raspberry creates a gorgeous ruby contrast against the dark chocolate, but strawberry, blackberry, or even apricot brings their own magic to these little cookies.
Step 7: Bake to Perfection
Bake the cookies for 12-15 minutes until the edges are set but still slightly soft in the center.
They’ll continue firming up as they cool, so resist the temptation to overbake—nobody likes a dry chocolate cookie, am I right?
Step 8: Prepare Optional Chocolate Drizzle
While the cookies cool, make the optional (but highly recommended) chocolate topping by heating ½ cup heavy cream until steaming, then pouring it over ½ cup chopped bittersweet chocolate.
For professional-quality mixing results, a premium stand mixer can make the ganache process effortless, creating a perfectly smooth texture every time.
Let sit for a minute, then stir until glossy and smooth, creating a decadent ganache that takes these cookies to the next level.
What to Serve with Chocolate Thumbprint Cookies
These rich, chocolatey treats deserve worthy companions! A cold glass of whole milk is the classic pairing—something about that creamy dairy cuts through the intensity of chocolate perfectly.
For grown-up gatherings, try serving these cookies with a dessert wine like port or a creamy coffee liqueur.
Hot beverages make these cookies shine too—a cappuccino or vanilla-infused hot chocolate turns cookie time into a proper café experience.
For a lighter touch, fresh berries on the side echo the jam filling while adding a rejuvenating contrast.
And if you’re putting together a dessert spread, these cookies work beautifully alongside vanilla ice cream that can melt slightly into the warm cookies for an impromptu à la mode situation.
Chocolate Thumbprint Cookies Substitutions and Variations
- Fun twists: Add ½ teaspoon of espresso powder to amplify the chocolate flavor, or mix in orange zest for a chocolate-orange combo.
- Festive touches: Roll cookies in colored sugar for holidays, or top with crushed candy canes in December for a mint-chocolate treat.
Leftovers and Storage for these Chocolate Thumbprint Cookies
These chocolate gems will keep beautifully in an airtight container at room temperature for up to 5 days.
For longer storage, pop them in the freezer for up to 3 months in a freezer-safe container with parchment between layers.
If your cookies begin to firm up too much, simply microwave one for 8-10 seconds to refresh that just-baked texture.
When freezing, I recommend freezing them before adding the chocolate drizzle—you can add that fresh after thawing for the prettiest presentation.
One little secret? These cookies actually develop deeper flavor after a day of rest, making them perfect for make-ahead treats.
Just be sure they’re completely cooled before storing to prevent condensation that might make them soggy.
Final Thoughts
These Chocolate Thumbprint Cookies represent comfort baking at its finest – that perfect balance of rich chocolate cookie with bright, sweet jam nestled in the center.
They’re wonderfully versatile, elegant enough for holiday cookie exchanges but simple enough for a random Tuesday when you need something sweet.
I especially love how the cocoa powder creates depth that perfectly complements whatever jam you have on hand.
These cookies make an ideal weekend project when you have a little time to roll, press, and fill – and the reward is days of treat-yourself moments with your afternoon tea or coffee.
Sometimes the most memorable desserts are the ones that combine familiar flavors in ways that feel both nostalgic and special at once.