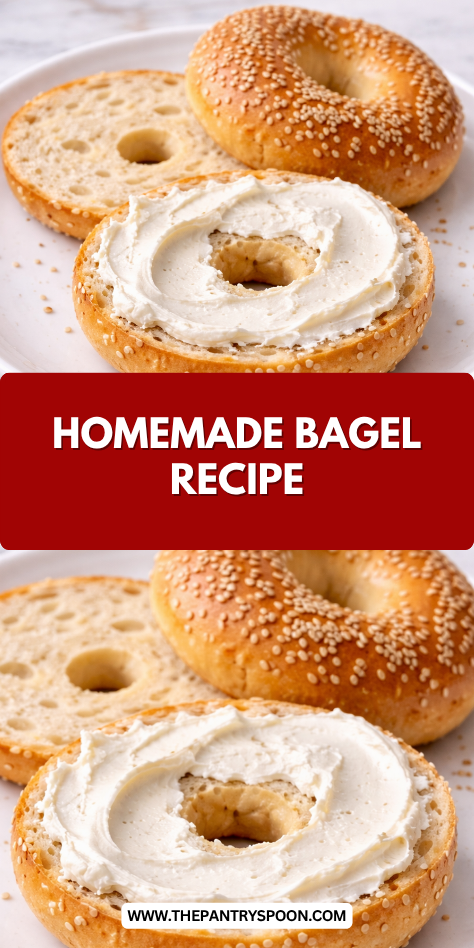
I’ve been obsessed with perfecting my bagel game at home, and trust me, nothing beats the smell of these chewy rings baking in your own kitchen.
Making bagels might sound intimidating—that glossy exterior and perfect chew factor seem like bakery magic—but with a few simple ingredients and techniques, you’ll be crafting New York-worthy bagels in no time.
Ready to discover how a little flour, water, and patience transforms into breakfast perfection? The secret’s in the boil.
Why You’ll Love these Homemade Bagels
While store-bought bagels might seem convenient, nothing compares to the satisfaction of pulling your very own golden, chewy bagels from the oven.
I promise, the aroma alone will make your kitchen feel like a proper New York bakery.
What’s truly amazing? These bagels require just basic ingredients you probably have right now.
No fancy equipment needed, just your hands and a bit of patience.
The exterior develops this gorgeous crackly crust while the inside stays perfectly chewy.
And customization options? Endless. Everything bagel seasoning, cinnamon sugar, sesame seeds—whatever your bagel-loving heart desires.
What Ingredients are in Homemade Bagels?
Making bagels at home requires surprisingly few ingredients—most of which are pantry staples you likely already have on hand.
- 1½ cups warm water (100–110°F)
- 2¼ teaspoons instant yeast
- 1 tablespoon sugar
- 3½ cups bread flour
- 1½ teaspoons salt
- 1 egg mixed with 1 tablespoon water (for egg wash)
- Toppings of your choice (sesame seeds, everything bagel seasoning, etc.)
For the boiling step, you’ll also want to add some honey and salt to your water—this helps create that signature chewy exterior and golden color that makes bagels, well, bagels.
How to Make these Homemade Bagels
Step 1: Activate the Yeast
In a bowl, combine 1½ cups warm water (100-110°F), 2¼ teaspoons instant yeast, and 1 tablespoon sugar.
Let this mixture sit for about 5 minutes until it becomes foamy and bubbly, which means your yeast is alive and ready to work its magic.
Step 2: Mix the Dry Ingredients
While your yeast is blooming, whisk together 3½ cups bread flour and 1½ teaspoons salt in a large mixing bowl.
The bread flour is essential here—it has a higher protein content than all-purpose, giving your bagels that perfect chewy texture we all crave.
Step 3: Form and Knead the Dough
Add the yeast mixture to your flour and salt, then mix until a stiff dough forms.
Turn it out onto a floured surface and knead for about 8-10 minutes, or until the dough is smooth and elastic.
Your arms might get a little tired, but consider it your baking workout for the day.
This process is much easier if you use a high-end stand mixer for consistent results and to save your arm strength.
Step 4: Let the Dough Rise
Place your dough in an oiled bowl, cover with a damp cloth or plastic wrap, and let it rise for 60 minutes until doubled in size.
This is when patience becomes your secret ingredient—the yeast needs time to create those lovely air bubbles.
Step 5: Shape Your Bagels
Divide the risen dough into 18 equal pieces and shape each into a smooth ball.
Using your thumb, poke a hole through the center of each ball, then gently stretch to create a 2-inch opening.
Place the shaped bagels on a parchment-lined baking sheet with a sprinkle of cornmeal (to prevent sticking) and let them rest for 10 minutes.
Step 6: Boil the Bagels
Bring a large pot of water to a boil and add some honey and salt.
Gently drop the bagels into the water, a few at a time, and boil for 30 seconds on each side.
This brief bath is what gives bagels their distinctive chewy exterior and shiny appearance.
Step 7: Add Toppings and Bake
After boiling, brush each bagel with egg wash (1 egg mixed with 1 tablespoon water) and sprinkle with your favorite toppings.
Pop them into a preheated 425°F oven and bake for 20-25 minutes until they’re beautifully golden brown and making your kitchen smell like a professional bakery.
What to Serve with Homemade Bagels
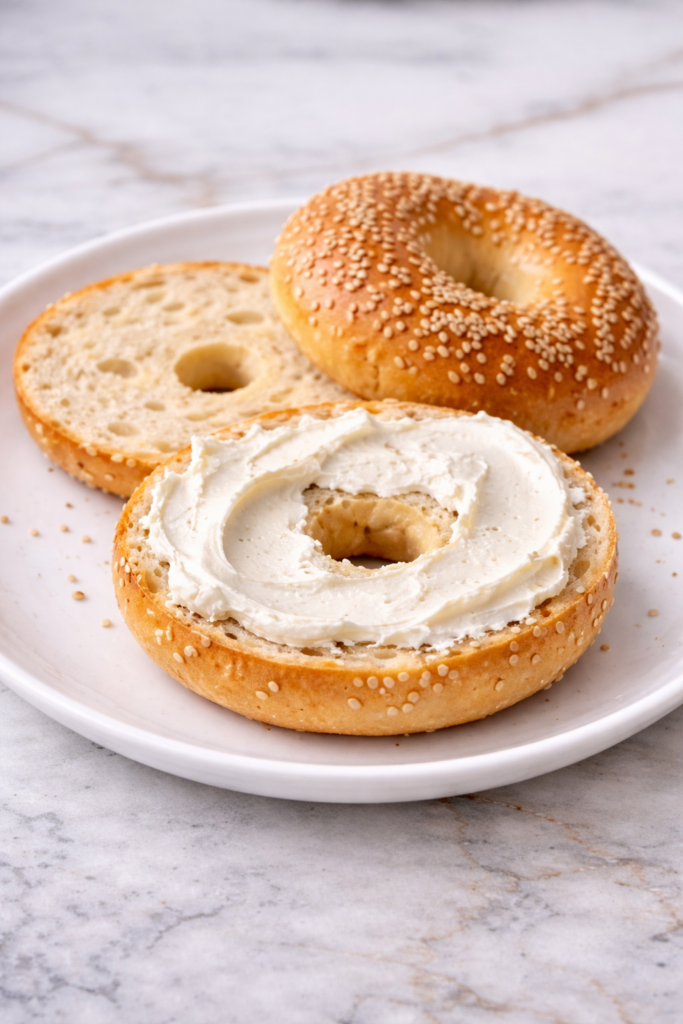
Fresh-baked bagels are incredibly versatile, perfect for any meal of the day. For breakfast, try them with a schmear of cream cheese and a side of fresh fruit—the cool sweetness balances the chewy bagel perfectly.
If you’re going savory, layer on some smoked salmon, capers, and thinly sliced red onion for a classic deli experience. A hot cup of coffee or tea is non-negotiable with morning bagels, while a crisp cucumber salad makes a revitalizing lunch pairing.
For a heartier option, serve alongside a bowl of tomato soup for dipping those crusty edges. And don’t forget about dessert bagels—a toasted cinnamon bagel with honey butter can satisfy any sweet tooth without much effort.
Honestly, is there anything better than breaking into a warm bagel you made yourself?
Homemade Bagels Substitutions and Variations
• Flour Options: No bread flour? All-purpose works in a pinch—your bagels just won’t be quite as chewy.
For whole wheat bagels, replace up to half the bread flour with whole wheat flour.
• Dietary Adjustments: Make them vegan by skipping the egg wash and using a cornstarch slurry instead (1 tablespoon cornstarch mixed with 3 tablespoons water).
For gluten-free bagels, try a 1:1 gluten-free flour blend, but expect a slightly different texture.
• Flavor Boost: Add 2 tablespoons of barley malt syrup instead of sugar for authentic bagel shop flavor.
Mix in 1/4 cup of blueberries, cinnamon-sugar, or jalapeño-cheddar for flavored varieties.
• Topping Bar: Beyond the classics (sesame, poppy, everything seasoning), try za’atar, dried garlic flakes, or coarse salt.
For sweet bagels, a cinnamon-sugar topping with vanilla glaze turns breakfast into a treat.
Leftovers and Storage for these Homemade Bagels
These fresh-baked treasures stay good at room temperature for 2-3 days when stored in an airtight container or bag.
For longer storage:
- Refrigeration: Place in a sealed container for up to 5 days. The texture will firm up slightly, but that’s normal.
- Freezing: These bagels freeze beautifully! Cool completely, slice if desired, then wrap individually in plastic wrap and place in a freezer bag. They’ll keep for up to 3 months.
- Refreshing: To revive day-old bagels, lightly sprinkle with water and toast or reheat in a 350°F oven for 5-7 minutes. For frozen bagels, thaw at room temperature then toast, or toast directly from frozen for an extra minute.
Homemade bagels are definitely best enjoyed fresh from the oven, but proper storage means you’ll never waste these little rings of joy.
Final Thoughts
There’s something truly magical about pulling a batch of these homemade bagels from your oven. That perfect combination of chewy interior and golden crust simply can’t be matched by store-bought versions. With just a handful of pantry staples and about two hours of your time (most of it hands-off), you can create something that feels both special and everyday. These bagels are perfect for weekend mornings when you want to slow down and savor the process, or make a batch on Sunday to enjoy throughout your busy week. Whether topped with everything seasoning or kept beautifully plain, the satisfaction of saying “I made these” adds flavor no recipe can capture.