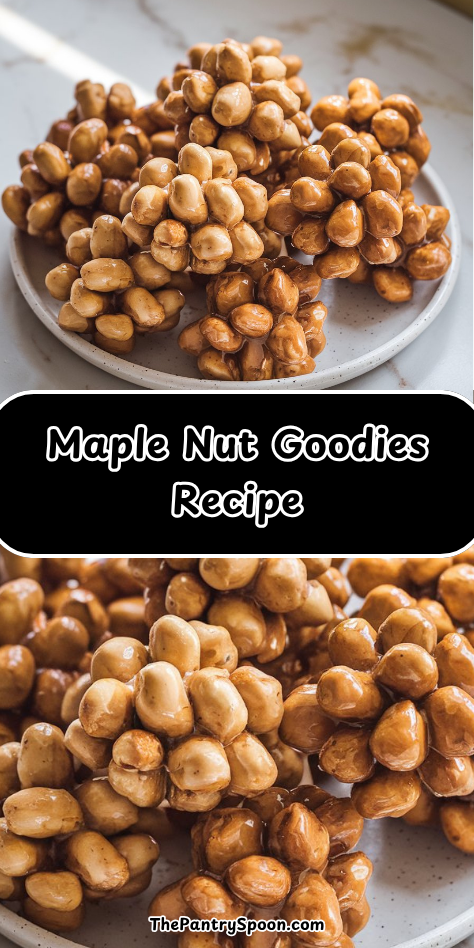
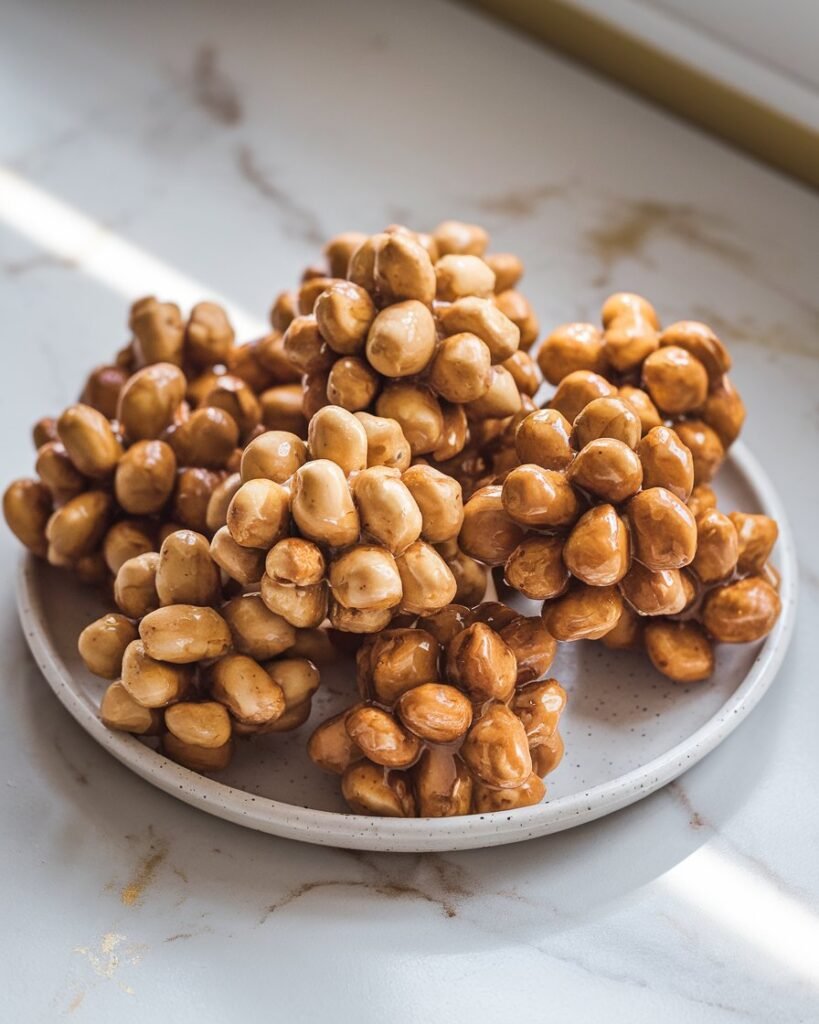
There’s something about old-fashioned candy recipes that makes the kitchen feel extra cozy, and this Maple Nut Goodies recipe brings back those nostalgic moments perfectly. The creamy maple coating, the satisfying crunch of roasted peanuts, and that sweet buttery aroma filling the house—each batch feels like a step back to simpler times. These little clusters of goodness are perfect for gifting, sharing, or keeping in a jar for an after-dinner treat.
I first made these after finding an old handwritten note tucked into one of my grandmother’s cookbooks. It was labeled “Maple Goodies,” and after a few tries, I found the perfect balance of maple flavor and caramel-like texture. Now, my family requests them every holiday season. We love making them together on cool autumn afternoons, and it’s become one of those traditions that never grows old.
Why You’ll Love This Recipe
These Maple Nut Goodies are rich, nutty, and sweet without being overly sugary. The maple flavor pairs beautifully with roasted peanuts, and the candy coating hardens to a satisfying bite. You only need a handful of ingredients and a saucepan to bring it all together—no candy thermometer or fancy tools required.
What makes this recipe especially great for families is how approachable it is. Kids can help stir or spoon out the clusters, and the result looks and tastes like something from a candy shop. They’re wonderful for holidays, bake sales, or just to keep in the pantry for a nostalgic treat anytime you crave something special.
What You’ll Need
- 1 ½ cups granulated sugar
- ¾ cup light corn syrup
- ¼ cup unsalted butter
- ⅔ cup evaporated milk
- 1 teaspoon pure maple extract
- 2 cups roasted peanuts (salted or unsalted)
- ½ teaspoon vanilla extract
- Pinch of salt
Pro Tips
- Use fresh nuts. Stale peanuts can dull the flavor of the candy, so make sure they’re fresh and crunchy.
- Don’t rush the boil. Let the syrup mixture bubble gently to develop that rich, buttery maple taste.
- Add extracts off heat. Maple and vanilla extracts are delicate and will retain more flavor if stirred in at the end.
- Work quickly. Once the mixture thickens, spoon it onto parchment paper fast before it hardens.
- For gifting, wrap individual clusters in wax paper or small candy bags for a classic presentation.
Tools You’ll Need
- Medium saucepan
- Wooden spoon or heatproof spatula
- Measuring cups and spoons
- Parchment paper or silicone baking mat
- Small cookie scoop or tablespoon
Substitutions and Variations
- Nuts: Try cashews, pecans, or almonds in place of peanuts for a gourmet twist.
- Sweetener: Substitute honey or brown rice syrup for a deeper flavor.
- Flavor: Swap maple extract for butter-rum or caramel extract for a fun variation.
- Chocolate drizzle: Once hardened, drizzle melted dark chocolate over the clusters for an extra treat.
- Vegan version: Use vegan butter and plant-based evaporated milk substitutes like oat or coconut milk.
Make Ahead Tips
These candies can be made several days in advance and actually taste better after sitting a day or two. The maple flavor deepens over time, and the texture remains crisp on the outside while slightly chewy inside. Store in airtight containers lined with parchment to prevent sticking. If making ahead for holidays, they’ll keep beautifully for up to two weeks at room temperature.
Instructions
Step 1: Prepare Your Work Area
Lay a large sheet of parchment or a silicone mat on the counter for spooning out the candy later. Have your peanuts measured and ready to go—the process moves quickly once you start.
Step 2: Cook the Syrup
In a medium saucepan, combine sugar, corn syrup, butter, and evaporated milk. Stir over medium heat until butter melts and sugar dissolves completely.
Step 3: Bring to a Boil
Once the mixture starts bubbling, continue cooking while stirring occasionally for about 5–7 minutes. The syrup should thicken slightly and turn a light golden color.
Step 4: Add Flavor and Nuts
Remove from heat and stir in the maple extract, vanilla extract, and a pinch of salt. Quickly fold in the roasted peanuts until they’re evenly coated in the syrup.
Step 5: Form the Clusters
Using a tablespoon or small scoop, drop spoonfuls of the hot mixture onto your prepared parchment. Leave space between each cluster as they will spread slightly.
Step 6: Cool and Set
Allow the candies to cool completely at room temperature for at least one hour. Once firm, transfer to airtight containers for storage.
Serving Suggestions
- Serve these with coffee or tea for a comforting sweet snack.
- Package them in tins or jars for thoughtful homemade gifts.
- Add to dessert platters alongside cookies and fudge for variety.
- Crumble over ice cream or yogurt for a decadent topping.
- Keep a small jar on your kitchen counter for everyday snacking.
Leftovers and Storage
Store Maple Nut Goodies in airtight containers at room temperature for up to 2 weeks. Separate layers with parchment or wax paper to prevent sticking. If your kitchen is warm, you can refrigerate them, but allow them to come to room temperature before serving to restore their texture. Avoid humidity, as moisture can soften the candy coating.
Nutrition and Benefits
- Protein-rich: Thanks to the peanuts, these candies provide a little plant-based protein in every bite.
- Simple ingredients: No preservatives or artificial additives—just classic pantry staples.
- Customizable: Easy to adjust for dietary preferences with dairy-free or nut-free swaps.
- Portion-friendly: Small, satisfying pieces that make it easier to enjoy in moderation.
Recipe FAQ
1. Can I use pure maple syrup instead of extract?
You can, but the flavor will be more subtle. Maple extract gives a stronger taste with less liquid, which helps the candy set properly.
2. Do I need a candy thermometer?
No. This recipe relies on timing and texture rather than exact temperatures, making it great for beginners.
3. How can I make the candies softer or chewier?
Reduce cooking time by a minute or two. The longer you boil the syrup, the firmer the candy will be.
4. Can I double the recipe?
Yes, but work quickly when forming the clusters. Larger batches cool faster, so you may want to recruit an extra pair of hands.
5. My candy seems grainy—what went wrong?
It likely crystallized because the mixture wasn’t fully dissolved before boiling. Make sure to stir until smooth before increasing heat.
6. Can I make this recipe nut-free?
Yes, you can replace peanuts with crispy rice cereal or sunflower seeds for texture without allergens.
7. How long do these candies stay fresh?
They’ll stay crunchy and flavorful for up to two weeks when stored properly in an airtight container away from moisture.
Sweet Maple Memories in Every Bite
Making these Maple Nut Goodies always reminds me of holiday afternoons when the house smelled like sugar and butter. It’s such a comforting, nostalgic candy—simple enough for a weekday project but special enough for a gift. The maple and nut flavors strike that perfect balance of sweet and savory, and each bite feels like a little taste of the past. This recipe proves that sometimes the simplest treats end up being the most memorable.