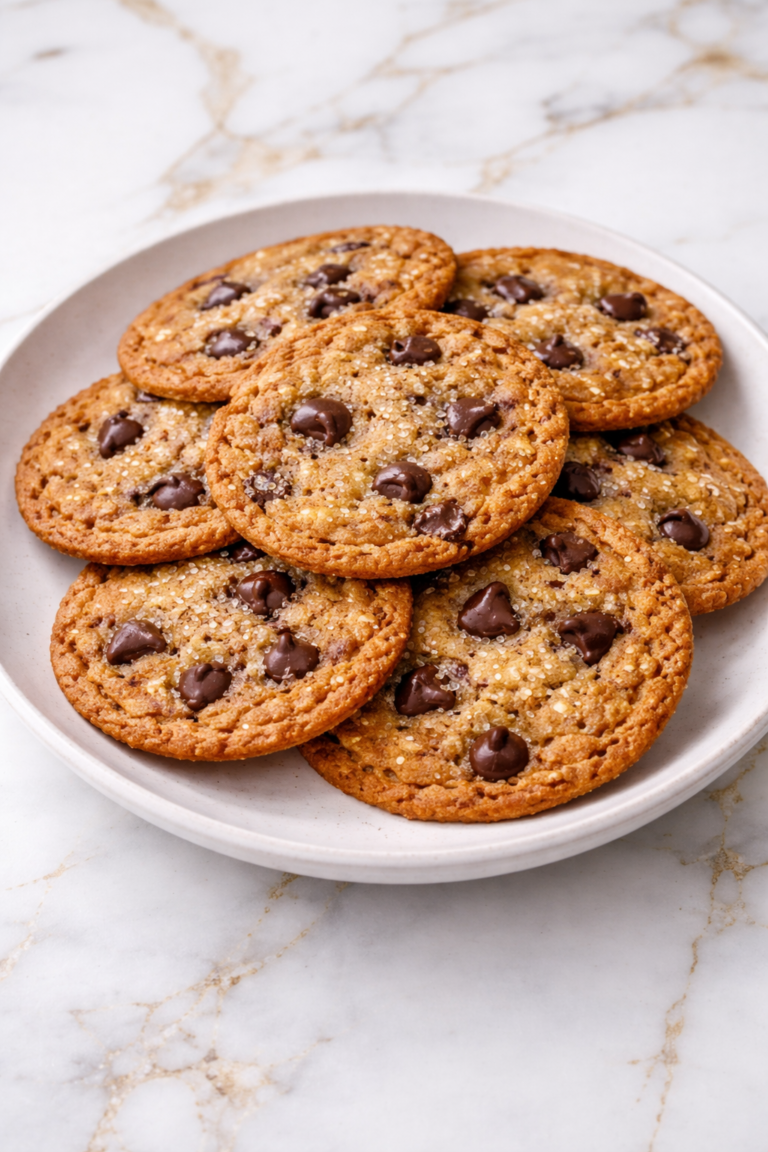
I’ve been on a quest for the perfect sugar cookie cut-out recipe for years, and let me tell you, this one’s a game-changer. Crisp edges, soft centers, and cookies that actually hold their shape when baked—what more could you ask for?
These aren’t those disappointing, bland sugar cookies that make you question why you bothered. They’re buttery, perfectly sweet, and sturdy enough for even the most elaborate decorating plans. Want to know the secret to cookies that won’t spread into unrecognizable blobs in the oven?
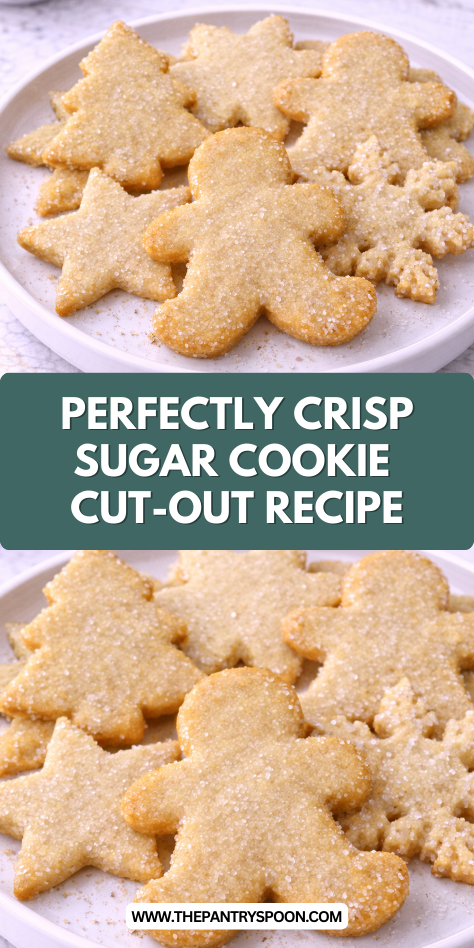
Why You’ll Love these Perfectly Crisp Sugar Cookie Cut-Outs
Three reasons these sugar cookies will become your go-to recipe: perfect texture, reliable results, and endless decorating possibilities.
I can’t overstate how satisfying that crisp edge feels when you bite into these cookies—just the right amount of snap before melting in your mouth.
The secret? Rolling them to that precise ¼-inch thickness and creaming the butter and sugar for a full five minutes. Trust me, set a timer for this step.
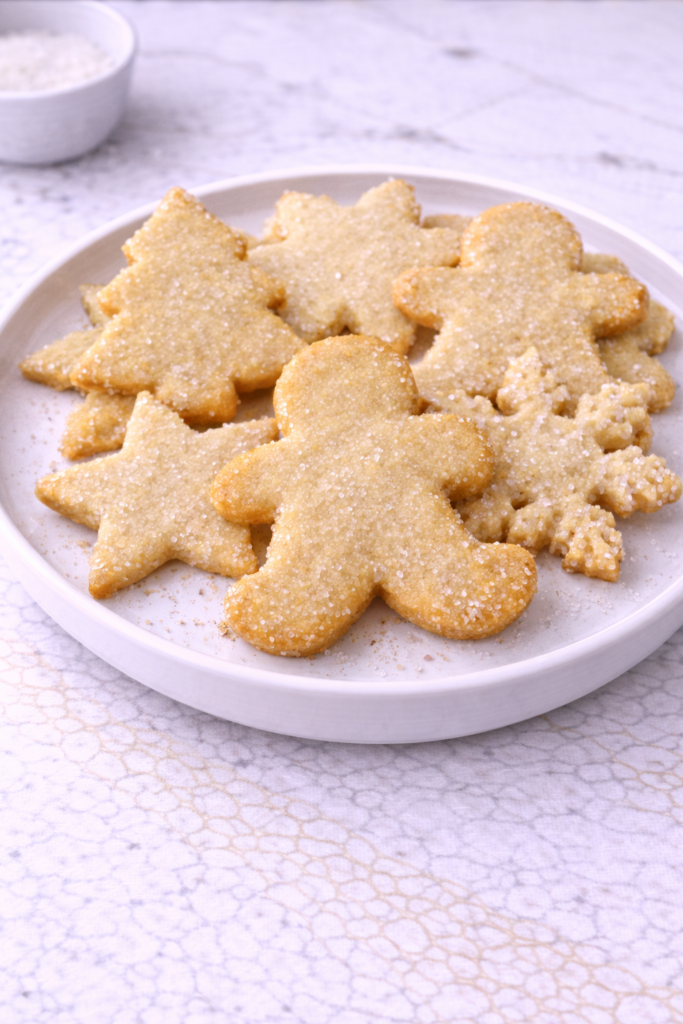
Want to watch everyone’s eyes light up at holiday gatherings?
These cookies hold their shape beautifully during baking, so your snowflakes actually look like snowflakes, not abstract art experiments.
What Ingredients are in Perfectly Crisp Sugar Cookie Cut-Outs?
These classic sugar cookie cut-outs require just a handful of pantry staples that come together to create that perfect balance of sweetness and structure.
- 1 cup butter, softened
- 1 cup sugar
- 1 egg
- 2 teaspoons vanilla extract
- 3 cups all-purpose flour
- 1½ teaspoons baking powder
- ½ teaspoon salt
The quality of your vanilla extract can make a noticeable difference in these cookies, so if you’ve been saving that good Madagascar bourbon vanilla for something special, now might be the time to break it out.
How to Make these Perfectly Crisp Sugar Cookie Cut-Outs
Step 1: Cream the Butter and Sugar
Take 1 cup of softened butter and 1 cup of sugar, then beat them together until the mixture is light and fluffy. This should take about 5 minutes—don’t rush this step, as proper creaming creates that perfect cookie texture we’re all dreaming about.
Step 2: Add the Wet Ingredients
Mix in 1 egg and 2 teaspoons of vanilla extract, beating until everything is well blended. The mixture should look smooth and glossy, a bit like cake batter at this stage.
Step 3: Incorporate the Dry Ingredients
Gradually add 3 cups of all-purpose flour, 1½ teaspoons of baking powder, and ½ teaspoon of salt to the wet mixture.
The dough will start to thicken and pull away from the sides of the bowl, which is exactly what we want.
Step 4: Roll Out the Dough
Sprinkle your work surface with flour, then roll the dough out to about ¼-inch thickness.
If you prefer softer cookies, roll them a bit thicker, around ⅜-inch—this little adjustment makes a world of difference in texture.
Step 5: Cut and Place the Cookies
Use your favorite cookie cutters to create shapes, then place them about 2 inches apart on a parchment-lined baking sheet.
Remember, you can gather and re-roll the scraps up to three times—any more and the cookies might become tough from overworking the dough.
Step 6: Bake to Perfection
Slide your cookies into a preheated 350°F oven and bake for 8-10 minutes, or until the edges are just turning light brown.
They might look slightly underdone in the center, but they’ll continue cooking a bit after removal.
Step 7: Cool Before Decorating
Let the cookies rest on the baking sheet for about 2 minutes, then transfer them to a cooling rack.
Patience is key here—trying to frost warm cookies is a recipe for runny icing and frustration.
Step 8: Decorate to Your Heart’s Content
Once completely cool, it’s time for the fun part—decorating!
Frost with your favorite icing, add sprinkles, or get creative with whatever decorations make your heart happy. This is where these cookies truly become your own. Investing in premium baking tools will elevate your cookie decorating experience and help you achieve professional-looking results.
What to Serve with Perfectly Crisp Sugar Cookie Cut-Outs
These buttery delights deserve the perfect companions! A tall glass of cold milk creates that classic cookie-dunking experience we all crave.
For something warm, try serving with a mug of hot chocolate topped with mini marshmallows—heavenly on winter afternoons. Coffee lovers might enjoy these cookies alongside a cappuccino, where the bitter coffee notes balance the cookie’s sweetness beautifully.
For a fun dessert spread, pair with fresh berries and a dollop of whipped cream for DIY cookie sandwiches.
And don’t underestimate the magic of a scoop of vanilla ice cream nestled between two cookies for an impromptu ice cream sandwich.
These treats work perfectly as afternoon snacks or casual desserts that bring smiles all around.
Perfectly Crisp Sugar Cookie Cut-Outs Substitutions and Variations
- Festive add-ins: Fold in 2-3 tablespoons of colorful sprinkles for funfetti cookies, or ½ cup finely chopped nuts for texture.
- Decoration ideas: Beyond frosting, try pressing colored sugar into the dough before baking, or drizzle with melted chocolate after cooling.
Leftovers and Storage for these Perfectly Crisp Sugar Cookie Cut-Outs
These sugar cookies maintain their delightful texture when stored properly. Once completely cooled, place unfrosted cookies in an airtight container with parchment paper between layers to prevent sticking. They’ll stay fresh at room temperature for up to 1 week.
For frosted cookies, allow the icing to set completely before storing. Keep them in a single layer or separated with parchment to protect your decorating masterpieces.
Want to plan ahead? Freeze unfrosted cookies in airtight containers for up to 3 months. When ready to enjoy, thaw at room temperature for about 20 minutes.
Cookies getting a bit firm? Place a slice of bread in the container—it works wonders to restore softness without making them soggy.
These cut-outs are definitely at their prime within the first 2-3 days but remain delicious throughout their shelf life.
Final Thoughts
These simple yet versatile sugar cookies have earned their place as a beloved classic for good reason. With their perfect balance of buttery richness and delicate sweetness, they provide the ideal canvas for creative decorating or stand beautifully on their own with their crisp edges and tender centers.
Perfect for holiday celebrations, weekend baking projects with children, or any time you need a reliable sweet treat that never disappoints.
The beauty of these cookies lies in their adaptability—roll them thicker for a softer bite or thinner for more crunch, depending on your preference.
Sugar cookie cut-outs remind us that sometimes, the most straightforward recipes create the most cherished memories around the table.