
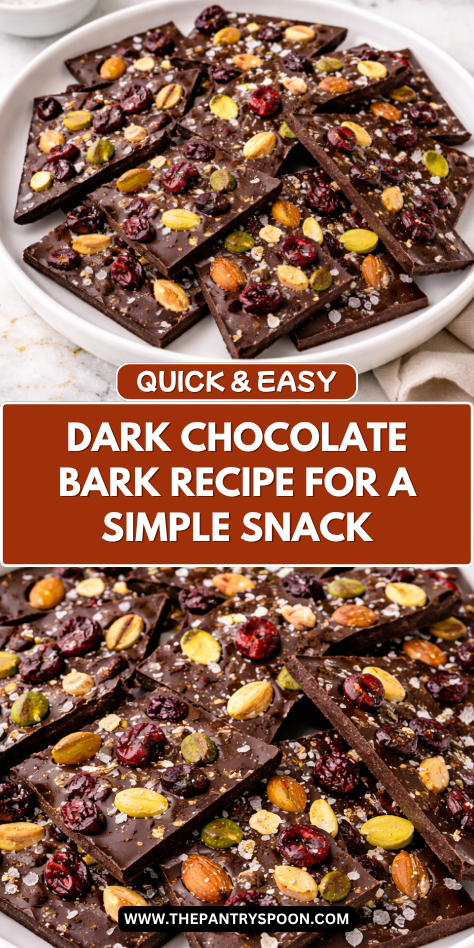
I make this every time I need a homemade gift or a simple treat to put out when people come over. Dark chocolate bark looks impressive on a board or wrapped in parchment, but it comes together in about fifteen minutes with almost no effort.
The toppings are where you get to make it your own — a little salt, some nuts, dried fruit, or whatever sounds good that day. I’ll show you how to melt the chocolate properly so it sets with a clean snap and a glossy finish.
It’s one of those recipes that feels more like assembling than cooking, which is exactly why I keep coming back to it.
Why You’ll Love This Recipe
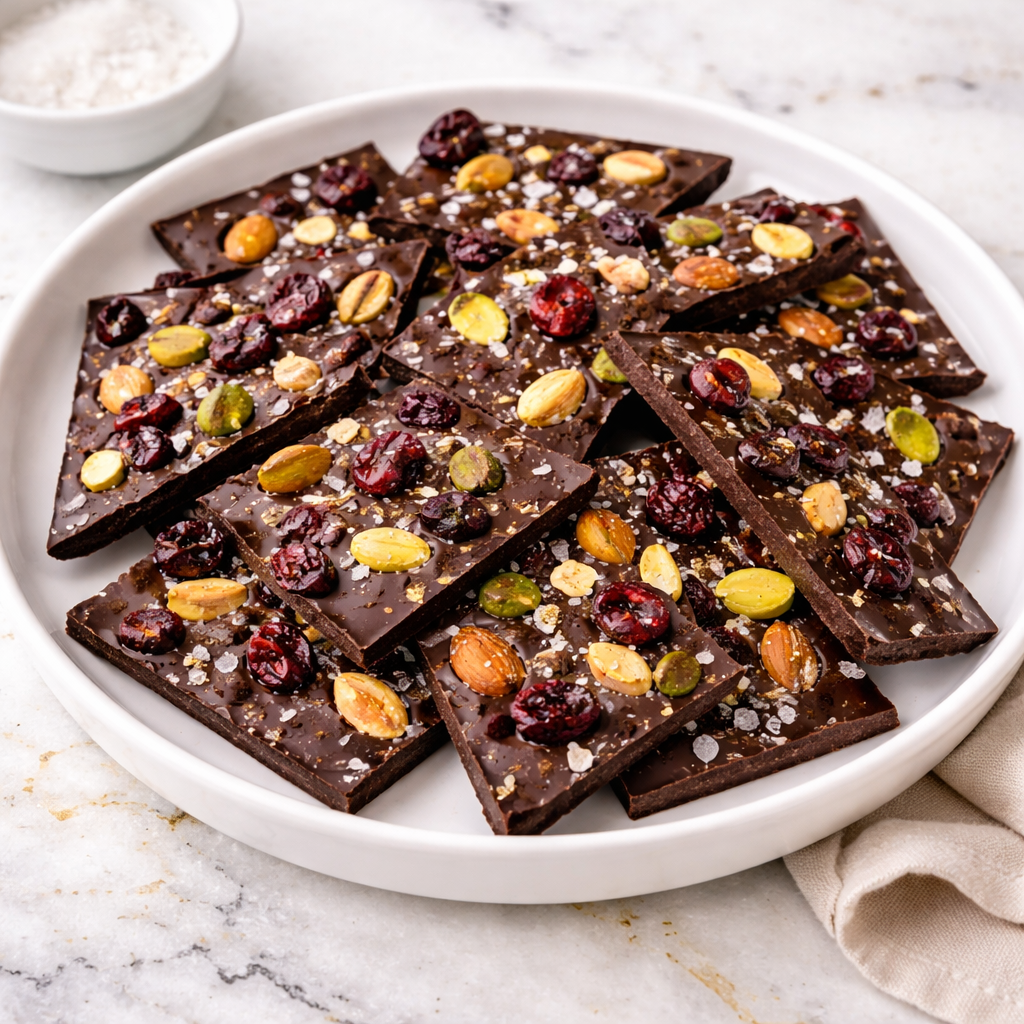
Dark chocolate bark is rich, satisfying, and incredibly easy to make with just a few ingredients. The smooth, melted chocolate combined with crunchy and sweet toppings creates a perfect balance of textures and flavors.
This recipe is also wonderfully versatile, allowing you to customize it based on your favorite ingredients or what you have on hand. From nuts and dried fruit to seeds and even a sprinkle of sea salt, the possibilities are endless.
Another reason this recipe is so appealing is how quick it is to prepare. With minimal prep and no baking required, it’s a great option for busy days or last-minute desserts.
Serves: 6 people
This recipe serves about six people, depending on how you break the bark into pieces. You can easily double the batch if you’re making it for a larger group or to have extra on hand.
Ingredients You’ll Need
- 10 oz dark chocolate (70% cocoa or preferred), chopped
- 1/4 cup chopped nuts (almonds, walnuts, or pecans)
- 1/4 cup dried fruit (cranberries, raisins, or cherries)
- 2 tablespoons seeds (pumpkin seeds or sunflower seeds)
- Pinch of sea salt
Pro Tips
Use high-quality dark chocolate for the best flavor, as it’s the main ingredient in this recipe. The better the chocolate, the better the final result.
Chop the chocolate evenly so it melts smoothly and consistently. This helps prevent overheating and ensures a silky texture.
Melt the chocolate gently using a double boiler or microwave in short intervals, stirring frequently. This prevents the chocolate from burning.
Spread the melted chocolate evenly on the baking sheet to ensure consistent thickness. This makes it easier to break into pieces later.
Add toppings while the chocolate is still warm so they stick properly. Press them lightly into the surface if needed.
Allow the bark to cool completely before breaking it into pieces. This helps it set properly and gives it a clean snap.
Tools You’ll Need
- Baking sheet
- Parchment paper
- Heatproof bowl
- Saucepan (for double boiler) or microwave-safe bowl
- Spatula
- Knife
Substitutions and Variations
You can use milk chocolate or white chocolate instead of dark chocolate for a sweeter variation. Each option creates a different flavor profile.
For a nut-free version, skip the nuts and use extra seeds or dried fruit. This keeps the texture interesting while accommodating allergies.
Try adding shredded coconut or crushed pretzels for a fun twist. These ingredients add both flavor and texture.
If you prefer a more indulgent version, drizzle melted white or milk chocolate over the top. This creates a decorative and flavorful finish.
You can also experiment with spices like cinnamon or a pinch of chili powder for a unique flavor. These small additions can elevate the bark in unexpected ways.
Make Ahead Tips
Dark chocolate bark is one of the easiest treats to prepare ahead, making it perfect for gifting, entertaining, or keeping on hand for quick snacks. You can make it up to one week in advance and store it properly to maintain its texture and flavor.
Once the bark has fully set, break it into pieces and store it in an airtight container at room temperature in a cool, dry place. If your kitchen is warm, storing it in the refrigerator can help prevent melting.
For best results, avoid stacking pieces directly on top of each other without parchment paper between layers. This helps prevent sticking and keeps the bark looking clean and presentable.
Instructions
Step 1: Prepare the Baking Sheet
Line a baking sheet with parchment paper and set it aside. This ensures the chocolate won’t stick and makes it easy to remove once set.
Make sure the surface is flat so the chocolate spreads evenly. This helps create a consistent thickness throughout the bark.
Step 2: Melt the Chocolate
Place the chopped dark chocolate in a heatproof bowl. Melt it using a double boiler over gently simmering water or microwave in 20–30 second intervals, stirring in between.
Continue until the chocolate is fully melted and smooth. Be careful not to overheat, as this can cause the chocolate to seize.
Step 3: Spread the Chocolate
Pour the melted chocolate onto the prepared baking sheet. Use a spatula to spread it into an even layer, about 1/4 inch thick.
Try to keep the edges relatively even so the pieces break nicely later. A smooth surface also makes the toppings more visually appealing.
Step 4: Add the Toppings
Sprinkle the chopped nuts, dried fruit, seeds, and a pinch of sea salt evenly over the melted chocolate. Press them gently into the surface so they stick.
Work quickly while the chocolate is still warm to ensure the toppings adhere properly. Distribute them evenly for balanced flavor in each piece.
Step 5: Let It Set
Allow the chocolate to cool and set at room temperature for about 1–2 hours, or place it in the refrigerator for 30–45 minutes to speed up the process.
The bark is ready when it is firm and no longer soft to the touch. Proper setting ensures a clean snap when broken.
Step 6: Break and Serve
Once fully set, lift the bark from the parchment paper and break it into pieces by hand or using a knife. Aim for rustic, uneven pieces for a classic look.
Serve immediately or store for later. The variety of textures and flavors makes each piece enjoyable.
Serving Suggestions
Dark chocolate bark is perfect as a simple dessert or sweet snack any time of day. Its rich flavor pairs beautifully with a cup of coffee or tea, making it a great afternoon treat.
You can also serve it as part of a dessert platter alongside fresh fruit, cookies, or other small sweets. This creates an inviting and varied presentation for guests.
For special occasions, package the bark in small bags or boxes for an easy homemade gift. It’s a thoughtful option that feels both personal and practical.
It also works well as a topping for yogurt or ice cream, adding both crunch and chocolatey richness. This makes it a versatile addition to other desserts.
Leftovers and Storage
Store dark chocolate bark in an airtight container at room temperature for up to one week. Keep it in a cool, dry place to prevent melting or softening.
If your environment is warm, store it in the refrigerator to maintain its firmness. Allow it to come to room temperature before serving for the best texture.
Avoid exposure to moisture, as this can affect the chocolate’s surface and texture. Keeping it sealed properly helps preserve quality.
For longer storage, you can freeze the bark for up to one month. Place parchment paper between layers and thaw at room temperature before serving.
Nutrition and Benefits
- Dark chocolate contains antioxidants that may support overall health when enjoyed in moderation.
- Nuts and seeds provide healthy fats, protein, and added crunch.
- Dried fruit adds natural sweetness along with fiber and nutrients.
- This recipe allows you to control ingredients, making it a more mindful treat option.
- The combination of ingredients creates a satisfying snack that balances indulgence with wholesome elements.
Recipe FAQ
Can I use chocolate chips instead of chopped chocolate?
Yes, chocolate chips can be used, but they may not melt as smoothly due to added stabilizers. Chopped chocolate bars typically give a better texture. Stir well to ensure even melting.
Why did my chocolate turn grainy?
This usually happens if the chocolate is overheated or comes into contact with water. Melt it slowly and stir frequently to avoid this issue. Using a dry bowl is important.
Can I customize the toppings?
Absolutely, this recipe is very flexible and works with a wide variety of toppings. Try different nuts, fruits, or even crushed cookies. Adjust based on your preferences.
How do I make the bark thinner or thicker?
Adjust the thickness by spreading the chocolate more or less on the baking sheet. A thinner layer will set faster and break more easily. A thicker layer will be more substantial.
Can I make this recipe vegan?
Yes, simply use dairy-free dark chocolate and ensure your toppings are also vegan. The rest of the recipe is naturally plant-based. It’s an easy adaptation.
How do I keep the bark from melting?
Store it in a cool place away from direct heat or sunlight. If your kitchen is warm, refrigeration is recommended. Proper storage helps maintain its structure.
Can I add flavors to the chocolate?
Yes, you can add a drop of vanilla extract or a pinch of spices like cinnamon or chili powder. Mix it into the melted chocolate before spreading. This adds an extra layer of flavor.
Conclusion
Dark chocolate bark is a simple and satisfying treat that brings together rich chocolate and customizable toppings with minimal effort.
It’s easy to prepare, versatile for different tastes, and perfect for both everyday snacking and special occasions.
With its balance of flavor and texture, it’s a recipe that feels both indulgent and approachable.
It’s one you’ll want to make again and again for its ease, flexibility, and consistently delicious results.


