
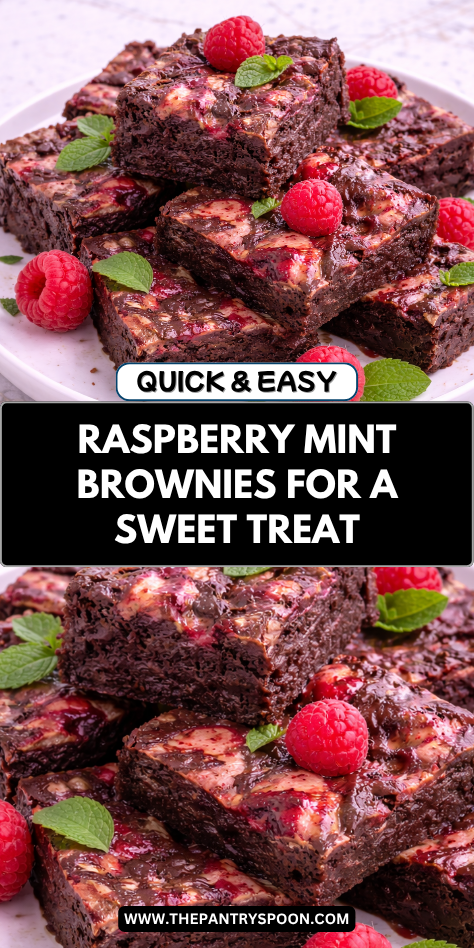
I started making these raspberry mint brownies when I wanted something a little different from the usual chocolate desserts we have at home. The mix of rich chocolate, fresh raspberry flavor, and a hint of mint felt simple but special. It quickly became one of those treats my family asks for when we want something homemade but not too complicated.
What I like most is how balanced the flavors are without needing extra effort. The brownies stay soft and fudgy, while the raspberry and mint add a light, fresh touch that keeps them from feeling too heavy. It’s the kind of dessert that works just as well for a quiet night in as it does for sharing with friends.
Why You’ll Love This Recipe
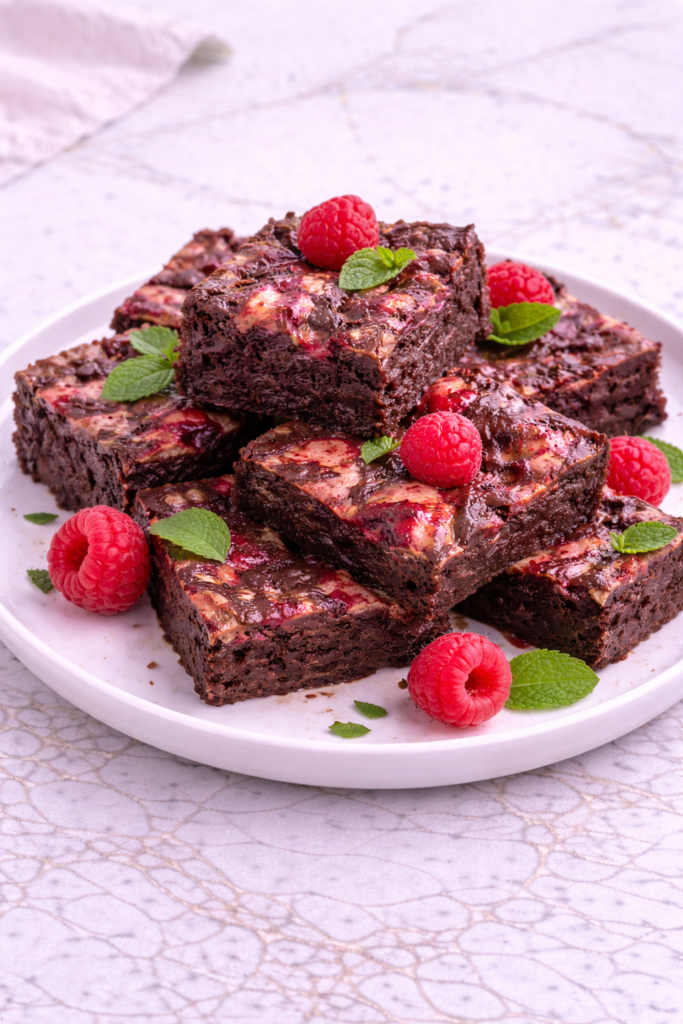
These raspberry mint brownies bring together deep chocolate flavor with a gentle burst of fruit and a cool hint of mint. The combination feels fresh but still comforting, making it a nice change from classic brownies. Each bite has a soft, fudgy texture with just enough contrast to keep it interesting.
The recipe is easy to follow and uses simple ingredients you can find in most kitchens. You don’t need any special techniques, which makes it great for beginners or for baking with kids. The steps are clear and reliable, so you can expect consistent results every time.
They are also flexible enough to suit different occasions, from casual snacks to small gatherings. You can dress them up with a light topping or keep them plain for a more everyday treat. Either way, they come out rich, soft, and full of flavor.
Serves: 9 people
This recipe makes one 9×9-inch pan of brownies, cut into 9 generous squares. You can easily cut them smaller if you’re serving a crowd or want bite-sized pieces. The portions are filling, so a little goes a long way.
Ingredients You’ll Need
For the Brownie Base
- 1 cup (2 sticks) unsalted butter
- 1 1/2 cups granulated sugar
- 3/4 cup light brown sugar, packed
- 3 large eggs
- 1 tablespoon vanilla extract
- 3/4 cup unsweetened cocoa powder
- 1 cup all-purpose flour
- 1/2 teaspoon salt
- 1/2 teaspoon baking powder
For the Raspberry Layer
- 1 cup fresh or frozen raspberries
- 2 tablespoons granulated sugar
- 1 teaspoon lemon juice
For the Mint Flavor
- 1/2 teaspoon peppermint extract
- Optional: 1 to 2 tablespoons finely chopped fresh mint
Optional Topping
- 1/2 cup semi-sweet chocolate chips
- 1 tablespoon butter (for melting)
Pro Tips
Use room temperature eggs so they mix more smoothly into the batter. This helps create a more even texture in the finished brownies. It also prevents the melted butter from cooling too quickly when combined.
Do not overbake the brownies, even if the center looks slightly soft. They will continue to set as they cool, giving you that fudgy texture. Overbaking can make them dry and crumbly.
Gently swirl the raspberry mixture into the batter instead of fully mixing it in. This creates pockets of flavor without turning the whole batter pink. It also keeps the visual look more appealing.
Start with a small amount of peppermint extract and adjust if needed. Too much can overpower the chocolate and raspberry flavors. A light touch gives the best balance.
Line your baking pan with parchment paper for easy removal. This makes it much simpler to lift the brownies out and cut clean slices. It also helps prevent sticking.
Let the brownies cool completely before cutting. This helps them set properly and keeps the layers from falling apart. It also improves the overall texture.
Tools You’ll Need
- 9×9-inch baking pan
- Parchment paper
- Large mixing bowl
- Medium saucepan or microwave-safe bowl
- Whisk
- Rubber spatula
- Measuring cups and spoons
- Small saucepan (for raspberry layer)
- Knife (for swirling and cutting)
Substitutions and Variations
Make It Dairy-Free
Use plant-based butter in place of regular butter. This keeps the brownies rich while making them suitable for dairy-free diets.
Use Frozen Raspberries
Frozen raspberries work just as well as fresh in this recipe. Just cook them slightly longer to remove excess moisture.
Add Chocolate Chunks
Stir in chopped chocolate or chocolate chips to the batter. This adds extra richness and a bit of texture in every bite.
Skip the Mint
If you prefer a more classic flavor, simply leave out the mint. The raspberry and chocolate combination still tastes full and balanced.
Make It Lighter
Reduce the sugar slightly or use a natural sweetener alternative. The brownies will still be flavorful but a bit less rich.
Make Ahead Tips
These raspberry mint brownies are easy to prepare ahead, which makes them helpful for busy schedules or planned gatherings. You can bake the brownies a day in advance and keep them covered at room temperature so they stay soft and fresh. The flavors often deepen slightly overnight, making them even more enjoyable the next day.
If you want to break up the steps, you can also prepare the raspberry layer ahead of time and store it in the refrigerator for up to two days. Let it come to room temperature before swirling it into the batter so it blends smoothly. This small step can save time and make the baking process feel more relaxed.
For longer planning, the fully baked brownies can be frozen and stored for up to two months. Wrap them tightly in plastic wrap and place them in a freezer-safe container to prevent freezer burn. When ready to serve, thaw at room temperature and enjoy as usual.
Instructions
Step 1: Prepare the Pan and Preheat
Preheat your oven to 350°F and line a 9×9-inch baking pan with parchment paper. Leave a little overhang on the sides so you can lift the brownies out easily later. This step helps prevent sticking and makes cleanup much simpler.
Step 2: Make the Raspberry Layer
In a small saucepan over medium heat, combine the raspberries, sugar, and lemon juice. Cook for about 5 to 7 minutes, stirring gently, until the mixture softens and thickens slightly. Remove from heat and let it cool while you prepare the brownie batter.
Step 3: Melt the Butter and Mix Sugars
In a medium saucepan or microwave-safe bowl, melt the butter until fully liquid but not too hot. Stir in the granulated sugar and brown sugar until well combined and smooth. This creates the base for a rich and fudgy texture.
Step 4: Add Eggs and Flavoring
Add the eggs one at a time, whisking well after each addition. Stir in the vanilla extract and peppermint extract, mixing until smooth and slightly glossy. This step helps build structure and adds depth to the flavor.
Step 5: Mix the Dry Ingredients
In a separate bowl, whisk together the cocoa powder, flour, salt, and baking powder. Gradually fold the dry ingredients into the wet mixture using a spatula. Mix just until combined to avoid overworking the batter.
Step 6: Assemble the Batter
Pour the brownie batter into the prepared pan and spread it evenly. Spoon the raspberry mixture over the top and gently swirl it with a knife. Be careful not to overmix so you keep distinct swirls of flavor.
Step 7: Bake the Brownies
Place the pan in the preheated oven and bake for 30 to 35 minutes. The edges should be set, and the center should still be slightly soft when tested with a toothpick. Avoid overbaking to keep the brownies moist.
Step 8: Optional Chocolate Topping
If using the topping, melt the chocolate chips with butter until smooth. Spread the melted chocolate over the slightly cooled brownies in an even layer. Let it set before cutting for a clean finish.
Step 9: Cool and Slice
Allow the brownies to cool completely in the pan before lifting them out using the parchment paper. Place them on a flat surface and cut into squares. This helps maintain neat edges and a stable texture.
Serving Suggestions
These brownies are delicious served slightly warm with a light drizzle of chocolate or a dusting of powdered sugar. The warmth enhances the chocolate flavor and softens the texture, making each bite feel extra comforting.
For a simple contrast, serve them with a scoop of vanilla ice cream or a spoonful of whipped cream. The cool, creamy addition balances the richness of the brownies without overpowering the raspberry and mint.
They also work well as part of a dessert tray alongside fresh fruit or lighter baked goods. This gives a nice mix of flavors and textures that can suit different tastes at the table.
If you’re packing them for later, they fit nicely into lunch boxes or snack containers. Their sturdy texture makes them easy to transport without falling apart.
You can also enjoy them with a warm drink like tea or coffee. The combination creates a calm and cozy moment, especially in the afternoon or evening.
Leftovers and Storage
Store leftover brownies in an airtight container at room temperature for up to three days. Keep them in a cool, dry place to maintain their soft texture. If your kitchen is warm, you may prefer to refrigerate them to keep the topping firm.
For longer storage, place the brownies in the refrigerator where they will keep well for up to five days. Let them come to room temperature before serving or warm them slightly for a softer texture. This helps bring back their fresh-baked feel.
To freeze, wrap individual squares tightly in plastic wrap and place them in a freezer-safe container or bag. They can be stored for up to two months without losing quality. Thaw at room temperature when ready to enjoy.
If stacking brownies for storage, place parchment paper between layers to prevent sticking. This keeps the edges clean and makes it easier to separate portions. Proper storage helps preserve both flavor and texture.
Nutrition and Benefits
- These brownies provide a satisfying source of energy thanks to their balance of carbohydrates and fats. This makes them a good occasional treat that can help curb sweet cravings.
- Raspberries add a small boost of fiber and natural antioxidants. This gives a fresh element to the dessert while supporting overall balance.
- Using simple, recognizable ingredients allows you to control what goes into your baking. This can be helpful for families who prefer homemade treats.
- The addition of mint offers a light, refreshing flavor that can make the dessert feel less heavy. It also adds a unique twist without extra effort.
- Portioning the brownies into smaller squares can help with mindful eating. This makes it easier to enjoy a treat while keeping servings reasonable.
Recipe FAQ
Can I use frozen raspberries instead of fresh?
Yes, frozen raspberries work well in this recipe and are a convenient option year-round. You may need to cook them a little longer to reduce extra moisture. Let the mixture cool before adding it to the batter for the best results.
How strong is the mint flavor?
The mint flavor is mild and meant to complement the chocolate and raspberry rather than overpower them. You can adjust the amount of peppermint extract to suit your preference. Start small and add more if needed.
How do I know when the brownies are done?
The edges should look set, and the center should still be slightly soft. A toothpick inserted in the middle should come out with a few moist crumbs. Avoid waiting until it comes out completely clean, as that can lead to overbaking.
Can I skip the chocolate topping?
Yes, the brownies are still rich and flavorful without the topping. It’s an optional step that adds extra chocolate and a smooth finish. You can leave it out for a simpler version.
Why did my brownies turn out dry?
This usually happens from overbaking or overmixing the batter. Be sure to remove them from the oven while the center is still slightly soft. Gentle mixing also helps keep the texture fudgy.
Can I make these brownies gluten-free?
You can substitute a gluten-free all-purpose flour blend in place of regular flour. Make sure it’s designed for baking and includes a binding agent. The texture may vary slightly but should still be enjoyable.
How should I cut clean brownie squares?
Let the brownies cool completely before cutting to help them set properly. Use a sharp knife and wipe it clean between cuts for neat edges. Chilling them slightly can also make slicing easier.
Conclusion
These raspberry mint brownies are a simple way to bring something a little different into your baking routine while still keeping things easy and familiar. The combination of rich chocolate, soft texture, and fresh flavor makes them a dependable treat that feels both comforting and special.
They’re well-suited for sharing, storing, and enjoying throughout the week without losing their quality. With their balanced taste and straightforward steps, this is a recipe you can return to whenever you want a homemade dessert that feels just right.


